How to Create a React Scroll Indicator using TailwindCSS

Jasser Mark Arioste

Hello! In this tutorial, you'll learn how to create a scroll indicator component in React while using TailwindCSS for styling.
A scroll indicator is a simple indicator at the top of the page to indicate the scroll progress of a user. It's a very useful component to improve the user experience on blogs or reading sites.
Pre-requisites #
- Basic knowledge of React and hooks.
Final Output: #
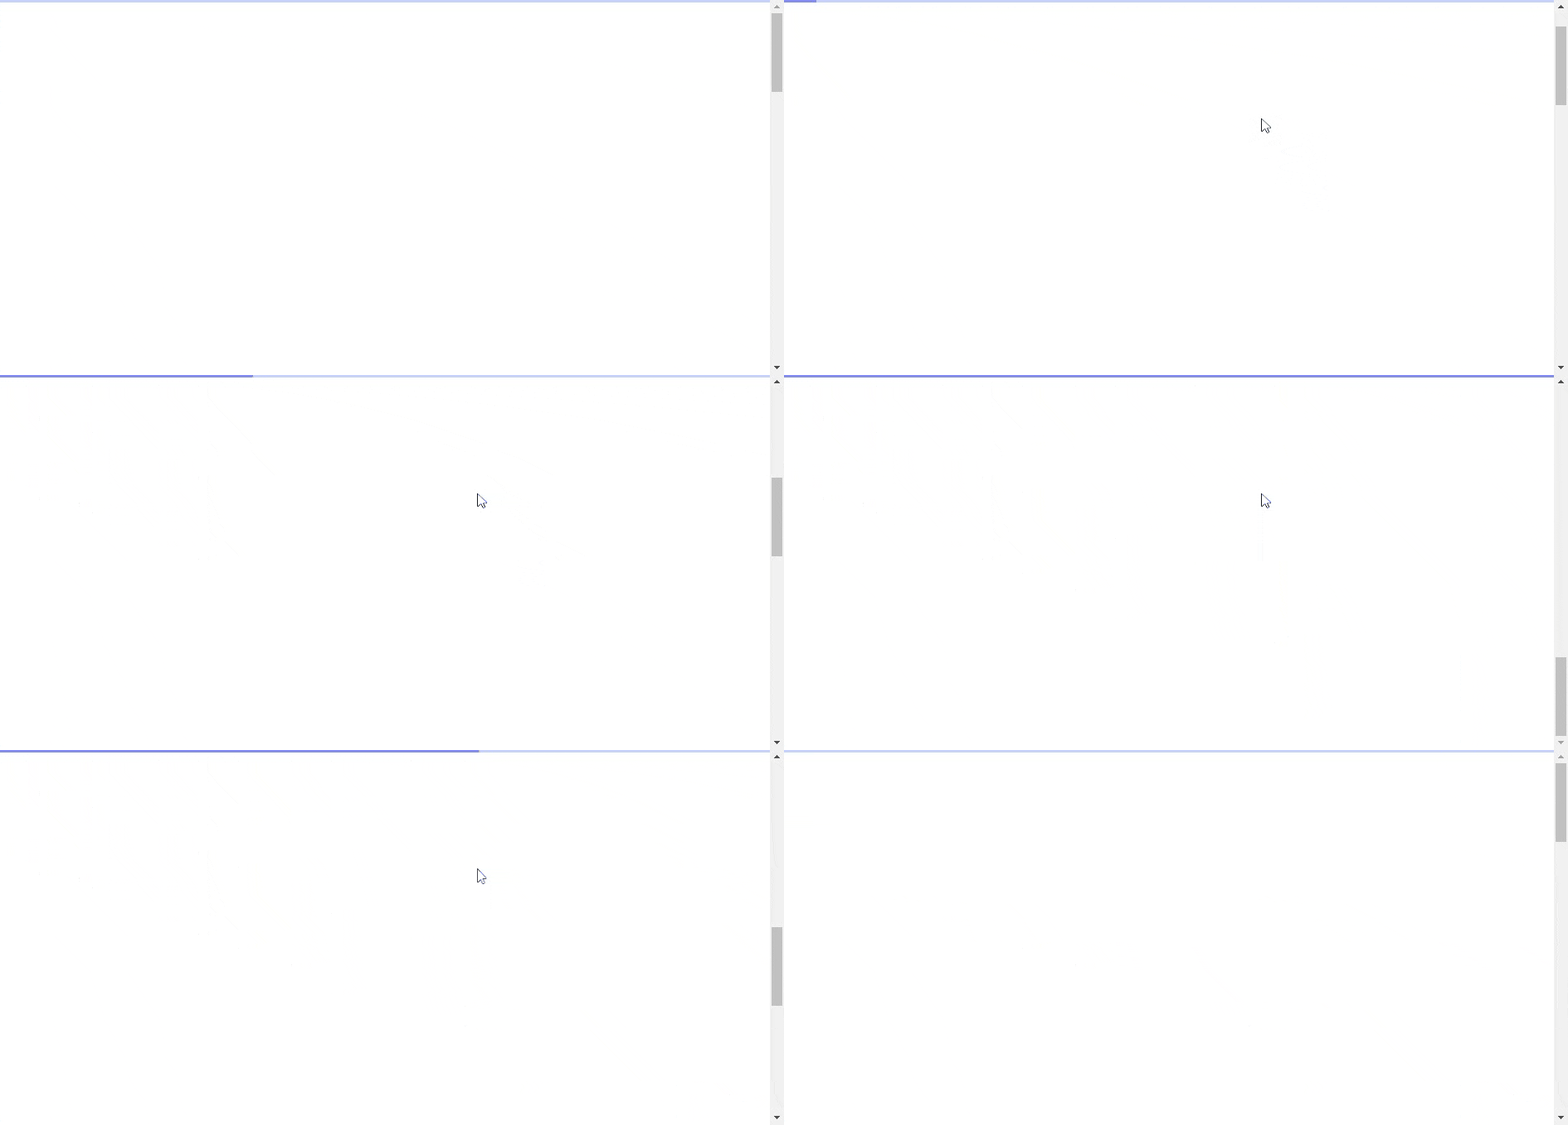
Here's the final output of what you'll be making today.

Step 1: Creating a New React Project #
In this example, we'll use NextJS as our react framework and use the create-next-app command to initialize a new React project. If you already have an existing React project, you can proceed to the next step. But if you wish to follow along with this tutorial, run the following command in your command line:
npx create-next-app --ts --tailwind react-scroll-indicator-tutorialThis will create a new NextJS project with Typescript and TailwindCSS already installed.
The --ts option will initialize the project with Typescript, and the --tailwind option automatically setup TailwindCSS for us. Thus, you can skip the next step.
Step 2: TailwindCSS Installation #
Next, you'll have to install TailwindCSS into your project. If you did step 1, you can skip this step as the create-next-app CLI has the option to set up tailwind automatically.
Installing Tailwind will sometimes depend on the specific framework you're using. If you're using NextJS, you can refer to this guide on how to install TailwindCSS. Or, you can also refer to the official documentation from Tailwind.
Step 3: Creating the ScrollIndicator Component
#
Next, let's create the ScrollIndicator component. First, create the file components/ScrollIndicator.tsx.
// components/ScrollIndicator.tsx "use client"; import { useEffect, useState } from "react"; const ScrollIndicator = () => { const [scroll, setScroll] = useState(0); useEffect(() => { const handler = () => { const documentElement = document.documentElement; // get the scroll top position const scrolled = documentElement.scrollTop; // calculate the max height of the document const maxHeight = documentElement.scrollHeight - documentElement.clientHeight; // calculate the percentage const scrollPercent = (scrolled / maxHeight) * 100; // update state setScroll(scrollPercent); }; // add event listener window.addEventListener("scroll", handler); // remove event listener on unmount return () => window.removeEventListener("scroll", handler); }, []); return ( <div className="bg-indigo-200 fixed top-0 h-1 w-screen"> <div className="bg-indigo-400 h-full" style={{ width: scroll + "%" }} ></div> </div> ); }; export default ScrollIndicator;12345678910111213141516171819202122232425262728293031323334353637383940
Explanation:
In line 6, you use the useState hook to track the scroll progress.
In line 26, you add an event listener for "scroll" events, and calculate the scroll percentage for every scroll.
In lines 32-35: We render everything using TailwindCSS classes and the width property. These are two overlapping div elements, the inner div indicates the scroll progress and the outer div indicates the total scroll height.
Step 4: Usage #
The next step is to then use this on your page components or routes. In the example below, we use it in app/page.tsx.
// app/page.tsx import ScrollIndicator from "@/components/ScrollIndicator"; export default function Home() { return ( <main className=""> <ScrollIndicator /> <div className="h-[2000px]" /> </main> ); }1234567891011
The output should be similar to the final output above.
Full Code #
The full code is available on GitHub: jmarioste/react-scroll-indicator-tutorial
Conclusion #
You learned how to create a simple react scroll indicator using TailwindCSS and useState hook. For your assignment, one improvement you can do to this component is to modify it so that it can be used on any parent element. So smaller elements with some overflow can also have a scroll indicator.
If you like this tutorial, please leave a like or share this article. For future tutorials like this, please subscribe to our newsletter or follow me on GitHub.
Resources: #
Credits: Image by chsyys from Pixabay


