How to Add Enter and Exit Page Transitions in NextJS by using TailwindCSS

Jasser Mark Arioste

Hello, hustlers! In this tutorial, you'll learn how to implement simple page transitions easily in NextJS by using only TailwindCSS and classnames package.
Introduction #
I've seen a lot of examples that implement page transitions in NextJS however, they require the very bulky framer-motion package. If you want simple animations on your pages (e.g., slide in and out) you don't have to import this package.
But without an animation library like framer-motion, sometimes it's also hard to time the animations since there's no time for the exit animation when the route changes. The animations will be a little bit clunky. But In this tutorial, we'll learn how to solve this problem step-by-step.
Since we're only using tailwind in this approach, there's a minimal added footprint to the bundle size.
Final Output #
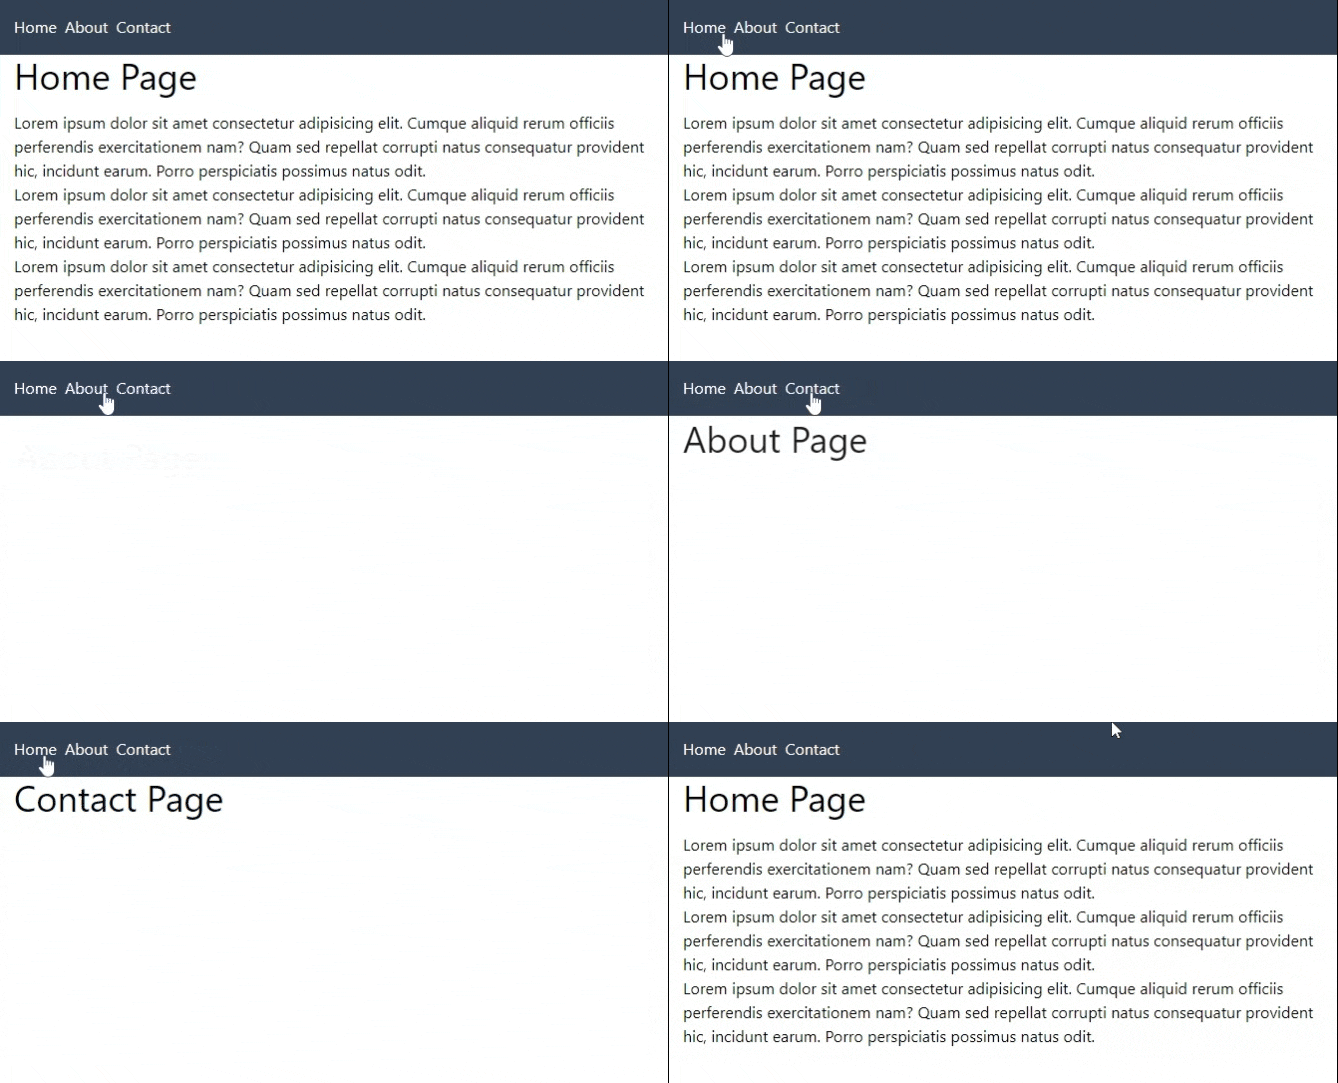
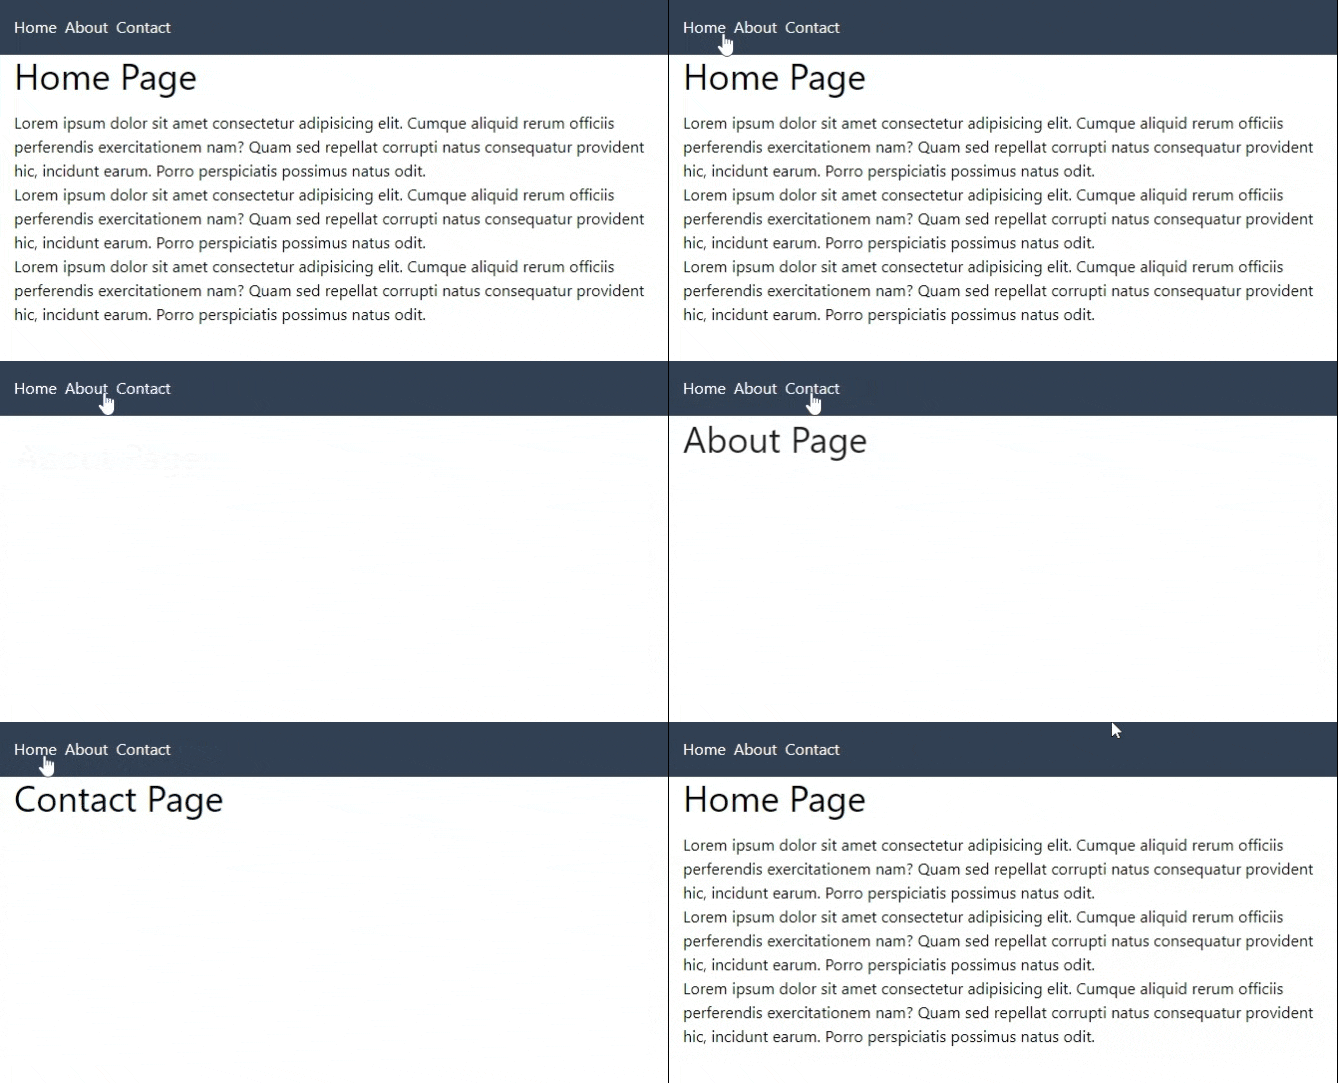
Here's the final output:

You can also play with the demo on Stackblitz: Next Page Transition Tailwind Tutorial
Our Approach #
- First, we'll learn how to do some transitions with the next/router without the CSS animations. We'll just show a
loading statewhen the page is transitioning to the next one. - Once we time it correctly, we'll add an enter animation (fade-in & slide-up), then add an exit animation (fade-out and slide-down).
All right, with that out of the way let's start with the project setup.
Step 0 - Project Setup #
Let's create a new NextJS project by using a starter template with TailwindCSS pre-installed. To start, run the following command:
npx create-next-app -e https://github.com/jmarioste/next-tailwind-starter-2 next-page-transitionNow, let's install classnames package since we'll be using it for toggling classes later on:
cd next-page-transition
yarn add classnames
Next, you should be able to start the local server on localhost:3000 by using the command:
yarn devStep 1 - Creating Pages and Navigation #
Let's create some pages so that we can test our transitions:
pages/about.tsx:
// pages/about.tsx const About = () => { return ( <div className="container mx-auto"> <h1 className="text-4xl">About Page </h1> </div> ); }; export default About;123456789
pages/contact.tsx
// pages/contact.tsx const Contact = () => { return ( <div className="container mx-auto"> <h1 className="text-4xl">Contact Page</h1> </div> ); }; export default Contact;123456789
Next, let's implement a basic navbar in _app.tsx:
import "../styles/globals.css"; import type { AppProps } from "next/app"; import Link from "next/link"; function MyApp({ Component, pageProps }: AppProps) { return ( <div> <div className="bg-slate-700 text-slate-50 py-4 "> <div className="container mx-auto flex gap-2"> <Link href="/">Home</Link> <Link href="/about">About</Link> <Link href="/contact">Contact</Link> </div> </div> <Component {...pageProps} /> </div> ); } export default MyApp;123456789101112131415161718
In a real project, you probably put this in a Layout component that contains the navbar. After this step, you should have the following result:

Step 2 - Creating the <PageWithTransition/> Component
#
In this step, we're going to create a PageWithTransition Component to have more control over what to display when the route changes.
First, create the file components/PageWithTransition.tsx and copy the code below:
// components/PageWithTransition.tsx import { useState, useEffect } from "react"; import { AppProps } from "next/app"; import { useRouter } from "next/router"; const PageWithTransition = ({ Component, pageProps }: AppProps) => { const router = useRouter(); const [transitioning, setTransitioning] = useState(false); useEffect(() => { // 👇 this handler will create a transition effect between route changes, // so that it doesn't automatically display the next screen. const handler = () => { setTransitioning(true); setTimeout(() => { setTransitioning(false); }, 280); }; router.events.on("routeChangeComplete", handler); return () => { router.events.off("routeChangeComplete", handler); }; }, [router.events]); // 👇 temporay loading component since we don't have animations yet const Loading = () => <div className="container mx-auto">Loading...</div>; // 👇 determine what screen to display depending on the transition state const Screen = !transitioning ? Component : Loading; // 👇 render the screen return ( <div> <Screen {...pageProps} /> </div> ); }; export default PageWithTransition;12345678910111213141516171819202122232425262728293031323334
Explanation:
Here, we're just delaying rendering the next screen by 280 milliseconds during the transitioning state.
Next, is to modify pages/_app.tsx to use this component:
// pages/_app.tsx import "../styles/globals.css"; import type { AppProps } from "next/app"; import Link from "next/link"; import PageWithTransition from "../components/PageWithTransition"; function MyApp(props: AppProps) { return ( <div> <div className="bg-slate-700 text-slate-50 py-4 "> <div className="container mx-auto flex gap-2"> <Link href="/">Home</Link> <Link href="/about">About</Link> <Link href="/contact">Contact</Link> </div> </div> <PageWithTransition {...props} /> </div> ); } export default MyApp;1234567891011121314151617181920
Explanation:
Line 16: Here we just replace the Component with PageWithTransition and pass all the props.
After this step, you should have this result:

You can see that when we change routes, it shows "Loading...". In the next few steps, we'll replace the loading state so that it shows the exit animation.
Step 3 - Adding an Enter Animation #
Next, we'll add some enter animations. Let's modify the tailwind.config.js file so that we can add an animation definition. In tailwind, you can add a new animation by extending the keyframes and animation definition.
Modify the tailwind.config.js as such:
// tailwind.config.js /** @type {import('tailwindcss').Config} */ module.exports = { content: [ "./app/**/*.{js,ts,jsx,tsx}", "./pages/**/*.{js,ts,jsx,tsx}", "./components/**/*.{js,ts,jsx,tsx}", ], theme: { extend: { keyframes: { slideUpEnter: { "0%": { opacity: 0, transform: "translateY(20px)", }, "100%": { opacity: 100, transform: "translateY(0px)", }, }, }, animation: { slideUpEnter: "slideUpEnter .3s ease-in-out", }, }, }, plugins: [], };1234567891011121314151617181920212223242526272829
Now, let's modify our PageWithTransition Component to use this animation on enter:
// components/PageWithTransition.tsx // ...omitted for brevity import cn from "classnames"; const PageWithTransition = ({ Component, pageProps }: AppProps) => { // ...omitted for brevity return ( <div className={cn({ "animate-slideUpEnter": !transitioning, })} > <Screen {...pageProps} /> </div> ); }; export default PageWithTransition;12345678910111213141516
Now when a page is rendered, it has an enter animation:

Step 4 - Adding an Exit Animation #
I admit this part was a bit tricky to figure out since we have to show the previous screen's exit animation when the route already changed. In NextJS, you can't really pause the route change for an animation. To work around this, we have to create a reference to the previous screen using useRef.
Modify your PageWithTransition Component as below. I've highlighted the parts with changes:
// components/PageWithTransition.tsx import { useState, useEffect, useRef } from "react"; import { AppProps } from "next/app"; import { useRouter } from "next/router"; import cn from "classnames"; const PageWithTransition = ({ Component, pageProps }: AppProps) => { const router = useRouter(); const prevScreen = useRef(Component); const [transitioning, setTransitioning] = useState(false); useEffect(() => { // this handler will create a transition effect between route changes, // so that it doesn't automatically display the next screen. const handler = () => { setTransitioning(true); setTimeout(() => { // save the current screen as the previous screen. prevScreen.current = Component; setTransitioning(false); }, 280); }; router.events.on("routeChangeComplete", handler); return () => { router.events.off("routeChangeComplete", handler); }; }, [Component, router.events]); // determine what screen to display when transitioning const Screen = !transitioning ? Component : prevScreen.current; return ( <div className={cn({ //use enter animation when showing the current screen "animate-slideUpEnter": !transitioning, //use an exit animation when showing the previous screen "animate-slideUpLeave": transitioning, })} > <Screen {...pageProps} /> </div> ); }; export default PageWithTransition;12345678910111213141516171819202122232425262728293031323334353637383940414243
Next, let's define the exit animation animate-slideUpLeave class in tailwind.config.js:
// tailwind.config.js /** @type {import('tailwindcss').Config} */ module.exports = { content: [ "./app/**/*.{js,ts,jsx,tsx}", "./pages/**/*.{js,ts,jsx,tsx}", "./components/**/*.{js,ts,jsx,tsx}", ], theme: { extend: { keyframes: { ... slideUpLeave: { "0%": { opacity: 100, transform: "translateY(0)", }, "100%": { opacity: 0, transform: "translateY(20px)", }, }, }, animation: { slideUpEnter: "slideUpEnter .3s ease-in-out", slideUpLeave: "slideUpLeave .3s ease-in-out", }, }, }, plugins: [], };12345678910111213141516171819202122232425262728293031
That's it! After this step, you should be able to have a simple, beautiful transition animation on every page change.

Full Code and Demo #
The full code is available on Github: next-page-transition-tailwind-tutorial
The demo is available on Stackblitz: next-page-transition-tailwind-tutorial
Conclusion #
We learned how to implement enter and exit page transitions to NextJS by extending TailwindCSS.
If you like this tutorial, please leave a like or share this article. For future tutorials like this, please subscribe to our newsletter or follow me on Twitter.
Credits: Image by SashSegal from Pixabay


