How to Auto Scroll to Bottom in React

Jasser Mark Arioste

Hello, hustlers! In this tutorial, you'll learn how to automatically scroll to the bottom of a div in React.
The Problem #
Suppose, you're building a chat application or a logging application where new messages or logs are coming in every minute. It would really help the user if it automatically scrolls to the bottom of the div so that they can see the latest messages or logs.
How to Implement This in React #
Here's an outline of how to go about implementing it:
- First, create a container component
<MessageList/>that can contain messages or logs. - Create a div element that sticks to the bottom of the container and create a reference to it using
useRefhook. - Next, listen to any state changes using the
useEffecthook and scroll into the div element.
Final Output #
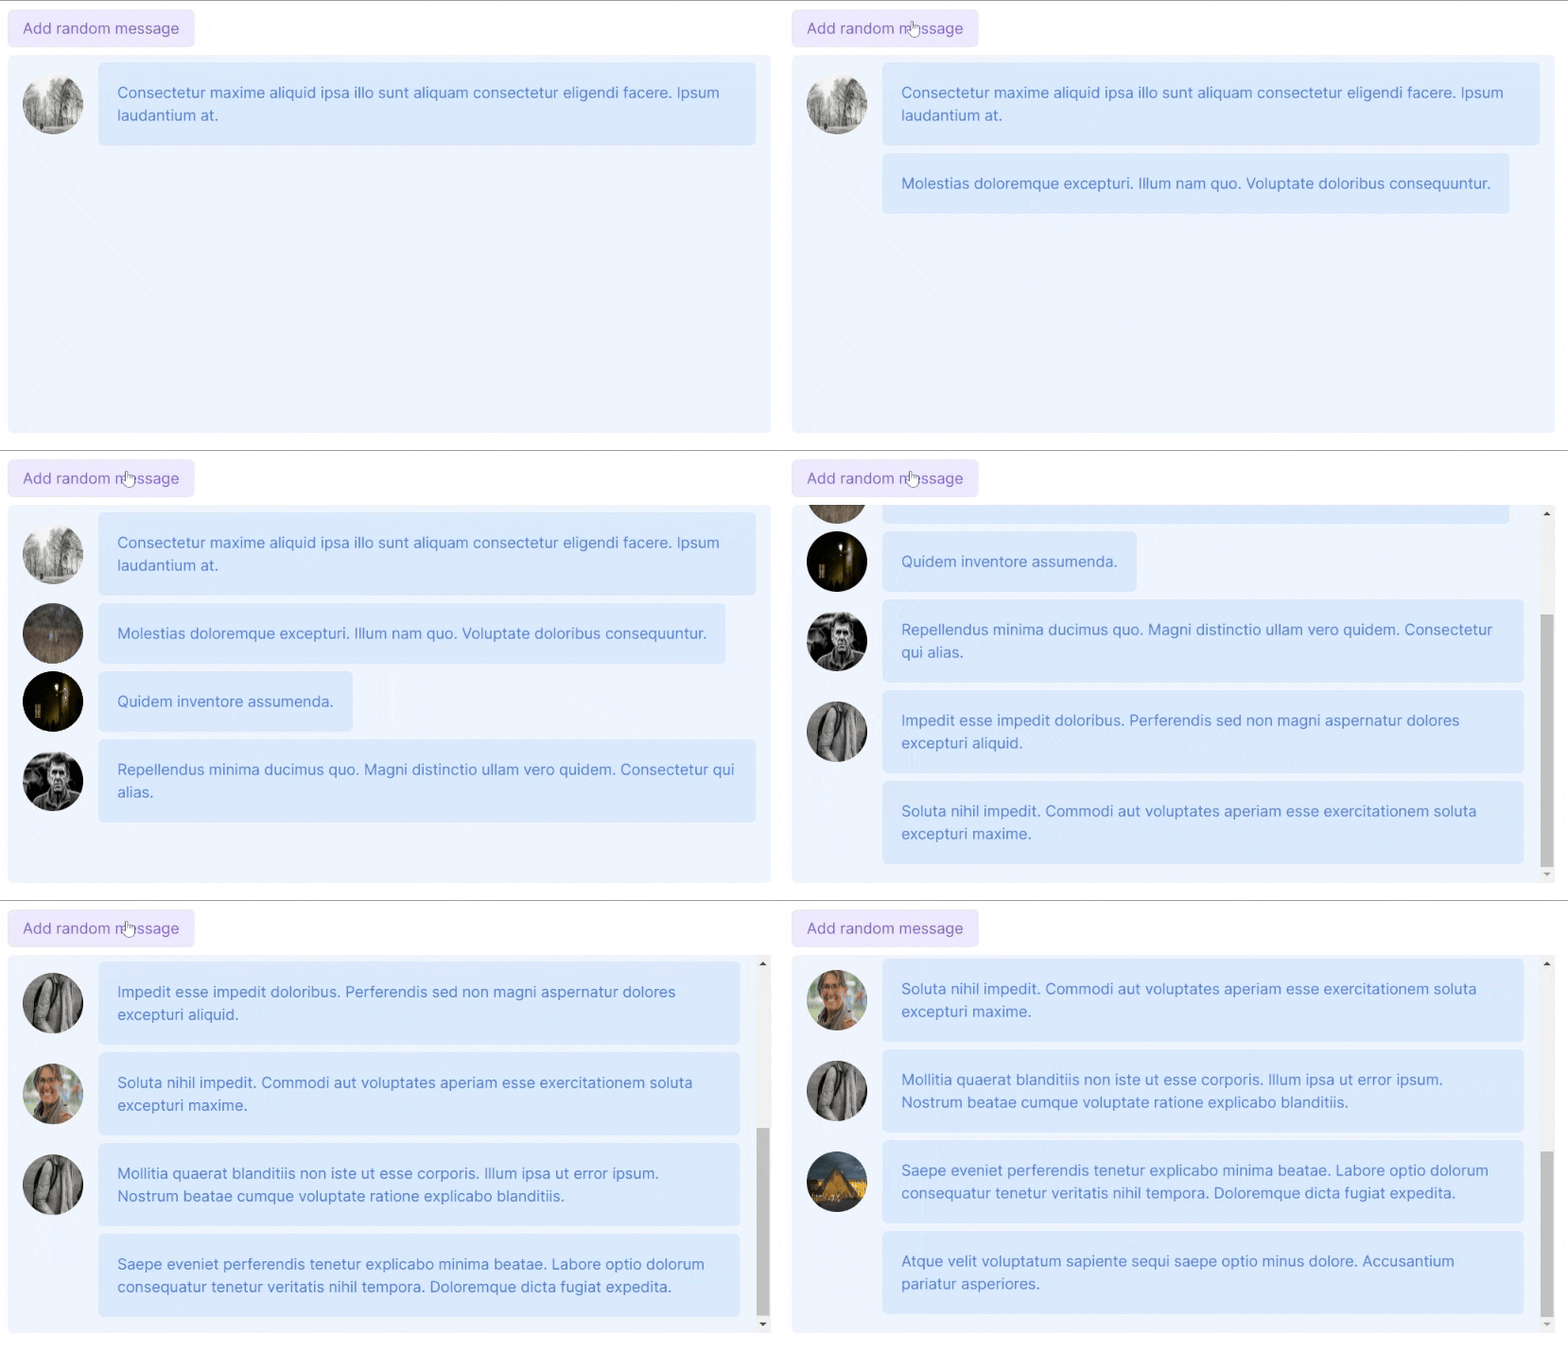
Here's the final output of what you'll be making today:

Step 1: Creating the <MessageList/> component
#
The MessageList component displays the messages that come in and will automatically scroll to the bottom of the page.
// components/MessageList import React from "react"; // 1. Define the data that the component wants to receive. export type Message = { id: string; body: string; date: Date; from: { image: string; displayName: string; }; }; type Props = { messages: Message[]; }; /** * Simple message list component styled with tailwind CSS classes */ const MessageList = ({ messages }: Props) => { return ( // Container <div className="h-[500px] w-full overflow-y-auto bg-blue-50 rounded-md px-4"> {messages.map((message) => { return ( // Individual messages <div key={message.id} className="flex gap-4 items-center mt-2"> {/* eslint-disable-next-line @next/next/no-img-element */} <img src={message.from.image} alt={message.from.displayName} className="w-16 h-16 flex-shrink-0 rounded-full" /> <p className="bg-blue-100 text-blue-500 p-5 rounded-md"> {message.body} </p> </div> ); })} </div> ); }; export default MessageList;123456789101112131415161718192021222324252627282930313233343536373839404142434445
It's a simple component that displays messages but it doesn't have the auto-scroll functionality yet.
Now, let's create a controller component to add random messages when a button is clicked.
import MessageList, { Message } from "@/components/MessageList"; // use faker to generate random messages import { faker } from "@faker-js/faker"; import { useState } from "react"; export default function Home() { // state to track the messages, ideally the messages should come from the backend api. const [messages, setMessages] = useState<Message[]>([]); // handler to add a random message using faker function addRandomMessage(event: React.MouseEvent<HTMLButtonElement>): void { const newMessage: Message = { id: faker.string.nanoid(), body: faker.lorem.lines(faker.number.int({ min: 1, max: 3 })), date: new Date(), from: { displayName: faker.person.firstName(), image: faker.image.urlLoremFlickr({ category: "people" }), }, }; // set the new messages setMessages([...messages, newMessage]); } return ( <main className="p-24"> <div className="w-full"> <button onClick={addRandomMessage} className="bg-violet-100 text-violet-500 px-4 py-2 rounded-md " > Add random message </button> <div className="my-2 w-full"> <MessageList messages={messages} /> </div> </div> </main> ); }12345678910111213141516171819202122232425262728293031323334353637383940
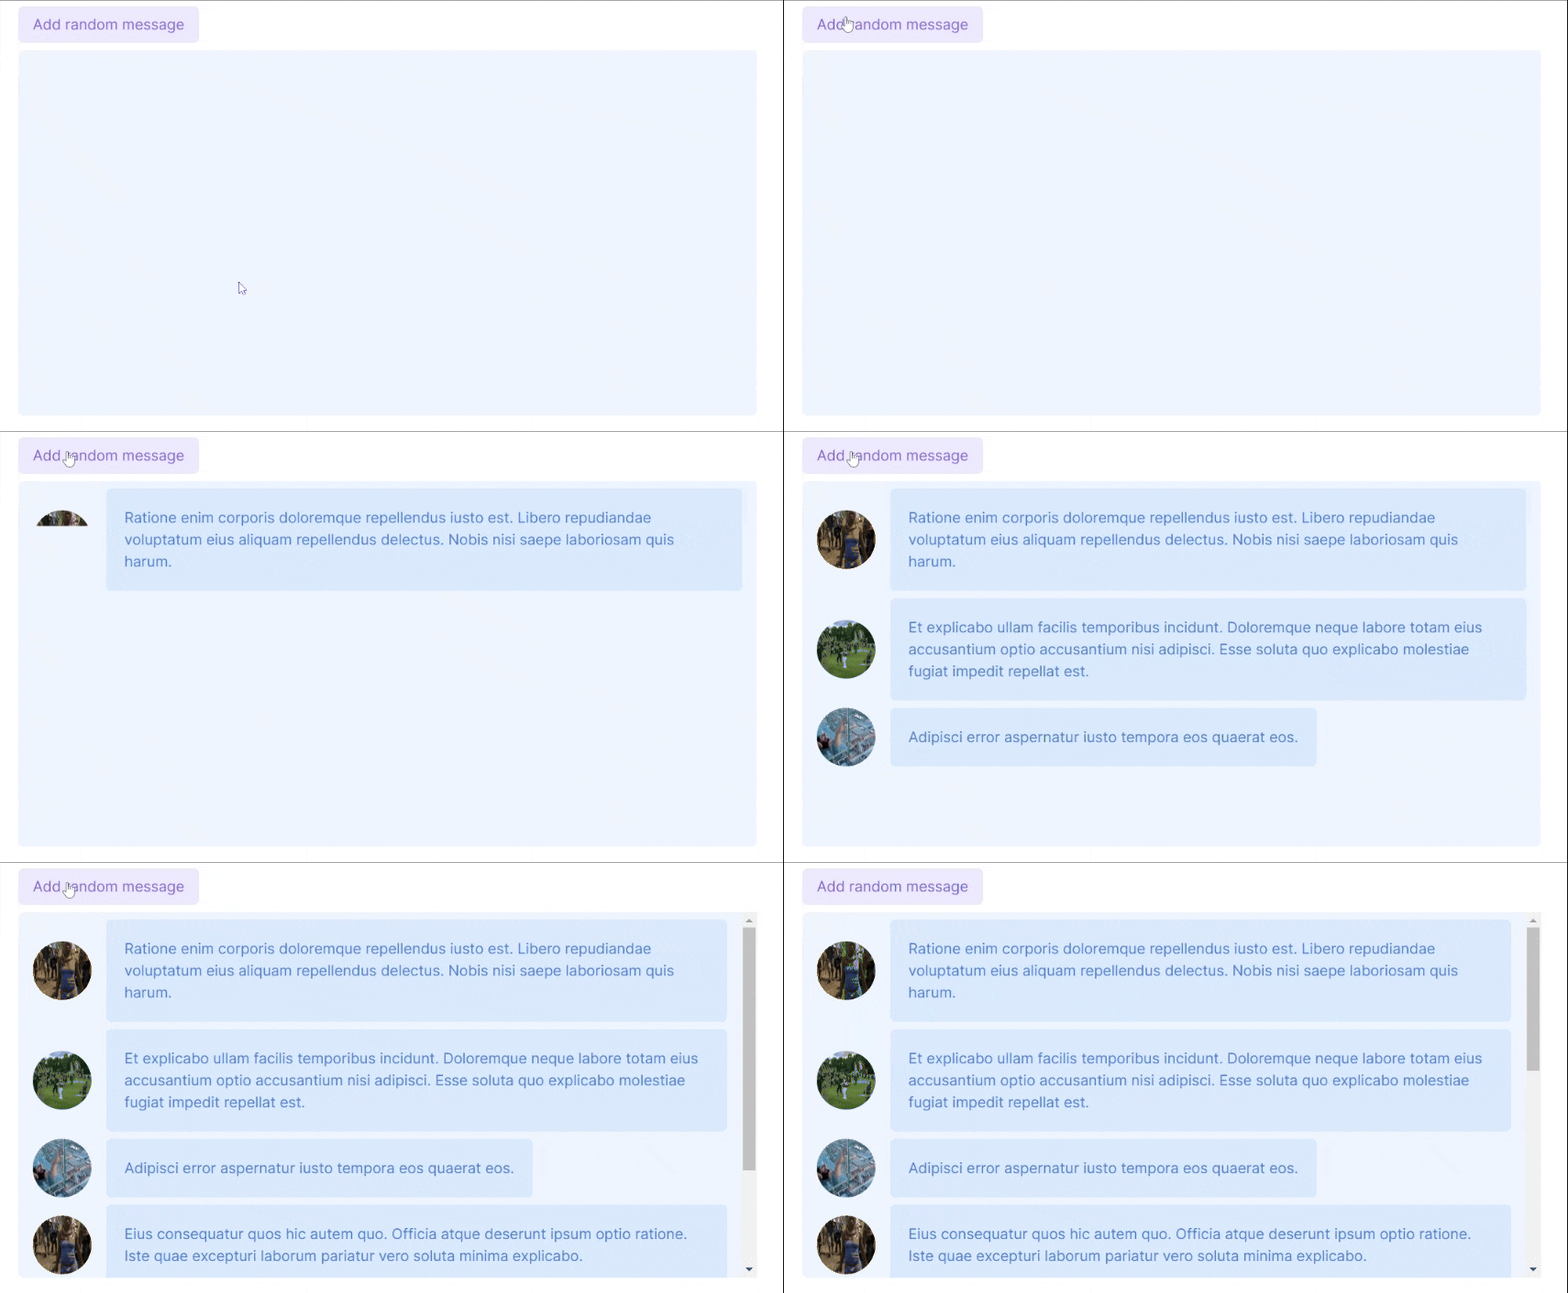
After this step, this is your current output:

As you can see, once a new message is added it doesn't scroll to the bottom of the div. We'll fix that in the next step.
Step 2: Adding a bottom div element #
First, inside the MessageList component, let's add a <div> element below the rendered messages and use the useRef hook to create a reference to it. These are highlighted in lines 4 and 13.
// components/MessageList.tsx import React, { useRef } from "react"; // ... const MessageList = ({ messages }: Props) => { const ref = useRef<HTMLDivElement>(null); return ( // Container <div className="h-[400px] w-full overflow-y-auto bg-blue-50 rounded-md px-4"> {messages.map((message) => { return ( //... ); })} <div ref={ref} /> </div> ); }; export default MessageList;12345678910111213141516171819
Step 3: Implementing auto-scroll to bottom #
Next, let's use the useEffect hook to listen to changes in the messages state and use the scrollIntoView() function as you can see below:
// components/MessageList.tsx const MessageList = ({ messages }: Props) => { const ref = useRef<HTMLDivElement>(null); useEffect(() => { if (messages.length) { ref.current?.scrollIntoView({ behavior: "smooth", block: "end", }); } }, [messages.length]); return ( //... ); }; export default MessageList;1234567891011121314151617
In line 3, the useRef hook allows us to access the DOM API of the div element. This can be done by first using a generic type parameter <HTMLDivElement> when calling the useRef hook. This type parameter will also be the type for the ref.current property so you can access all properties and methods of the <HtmlDivElement> type.
In line 6, The Element.scrollIntoView() function will scroll the element's parent or ancestor containers so that the element will be visible.
That's basically it!
Conclusion #
You learned how to implement an auto-scroll-to-bottom functionality in React. The useRef hook is very helpful when accessing the DOM API of the HTML elements.
If you like this tutorial, please leave a like or share this article. For future tutorials like this, please subscribe to our newsletter or follow me on GitHub.
Resources #
Credits: Image by Tiến Đỗ Mạnh from Pixabay


