How to Add HTTP Caching to getServerSideProps in NextJS

Jasser Mark Arioste

Hello, hustlers! In this tutorial, you'll learn to add HTTP Caching to getServerSideProps in NextJS. To know more about HTTP Caching in general, you can check this guide by MDN.
Add HTTP Caching to NextJS #
To add HTTP Caching to a page in /pages directory, you can simply set the Cache-Control HTTP header.
import type { GetServerSideProps, NextPage } from "next"; type Props = { date: string; }; const Home: NextPage<Props> = ({ date }) => { return <div>This page is generated on {date}</div>; }; export default Home; export const getServerSideProps: GetServerSideProps = async (ctx) => { // add Cache-Control HTTP Header to response ctx.res.setHeader( "Cache-Control", "public, s-maxage=10, stale-while-revalidate=59" ); return { props: { date: new Date().toISOString(), }, }; };1234567891011121314151617181920
For the demo you can check this URL : https://next-ssr-cache.vercel.app/
In this specific example, we're using a shared public cache with a max age of 10 seconds. Once the 10 seconds passes, and a request comes, it will regenerate the page. If the requests is before 59 seconds, it will serve the previously generated page.
Private HTTP Cache #
Note that different pages can have different cached values. For example if you want to include user session in the cache, you should use a private cache. This will get stored in the user's browser and the generated page won't get shared with other users.
For example:
// pages/ssr.tsx import dayjs from "dayjs"; import { GetServerSideProps } from "next"; import { getSession, useSession } from "next-auth/react"; import React from "react"; type Props = { date: string; }; const SSRPage = ({ date }: Props) => { const { data: session } = useSession(); return ( <div> SSRPage This page is generated on {date} <pre>{JSON.stringify(session, null, 4)}</pre> </div> ); }; export default SSRPage; export const getServerSideProps: GetServerSideProps = async (ctx) => { const session = await getSession({ req: ctx.req }); // add Cache-Control HTTP Header to response ctx.res.setHeader("Cache-Control", "private, max-age=15"); ctx.res.setHeader("Last-Modified", dayjs().format("ddd, DD MMM YYYY HH:mm:ss ") + "GMT"); return { props: { date: new Date().toISOString(), session, }, }; };123456789101112131415161718192021222324252627282930
Explanation:
Here we use the private cache-control to indicate that the page is intended for a single-user so it doesn't cache the session data to CDN's like Cloudflare.
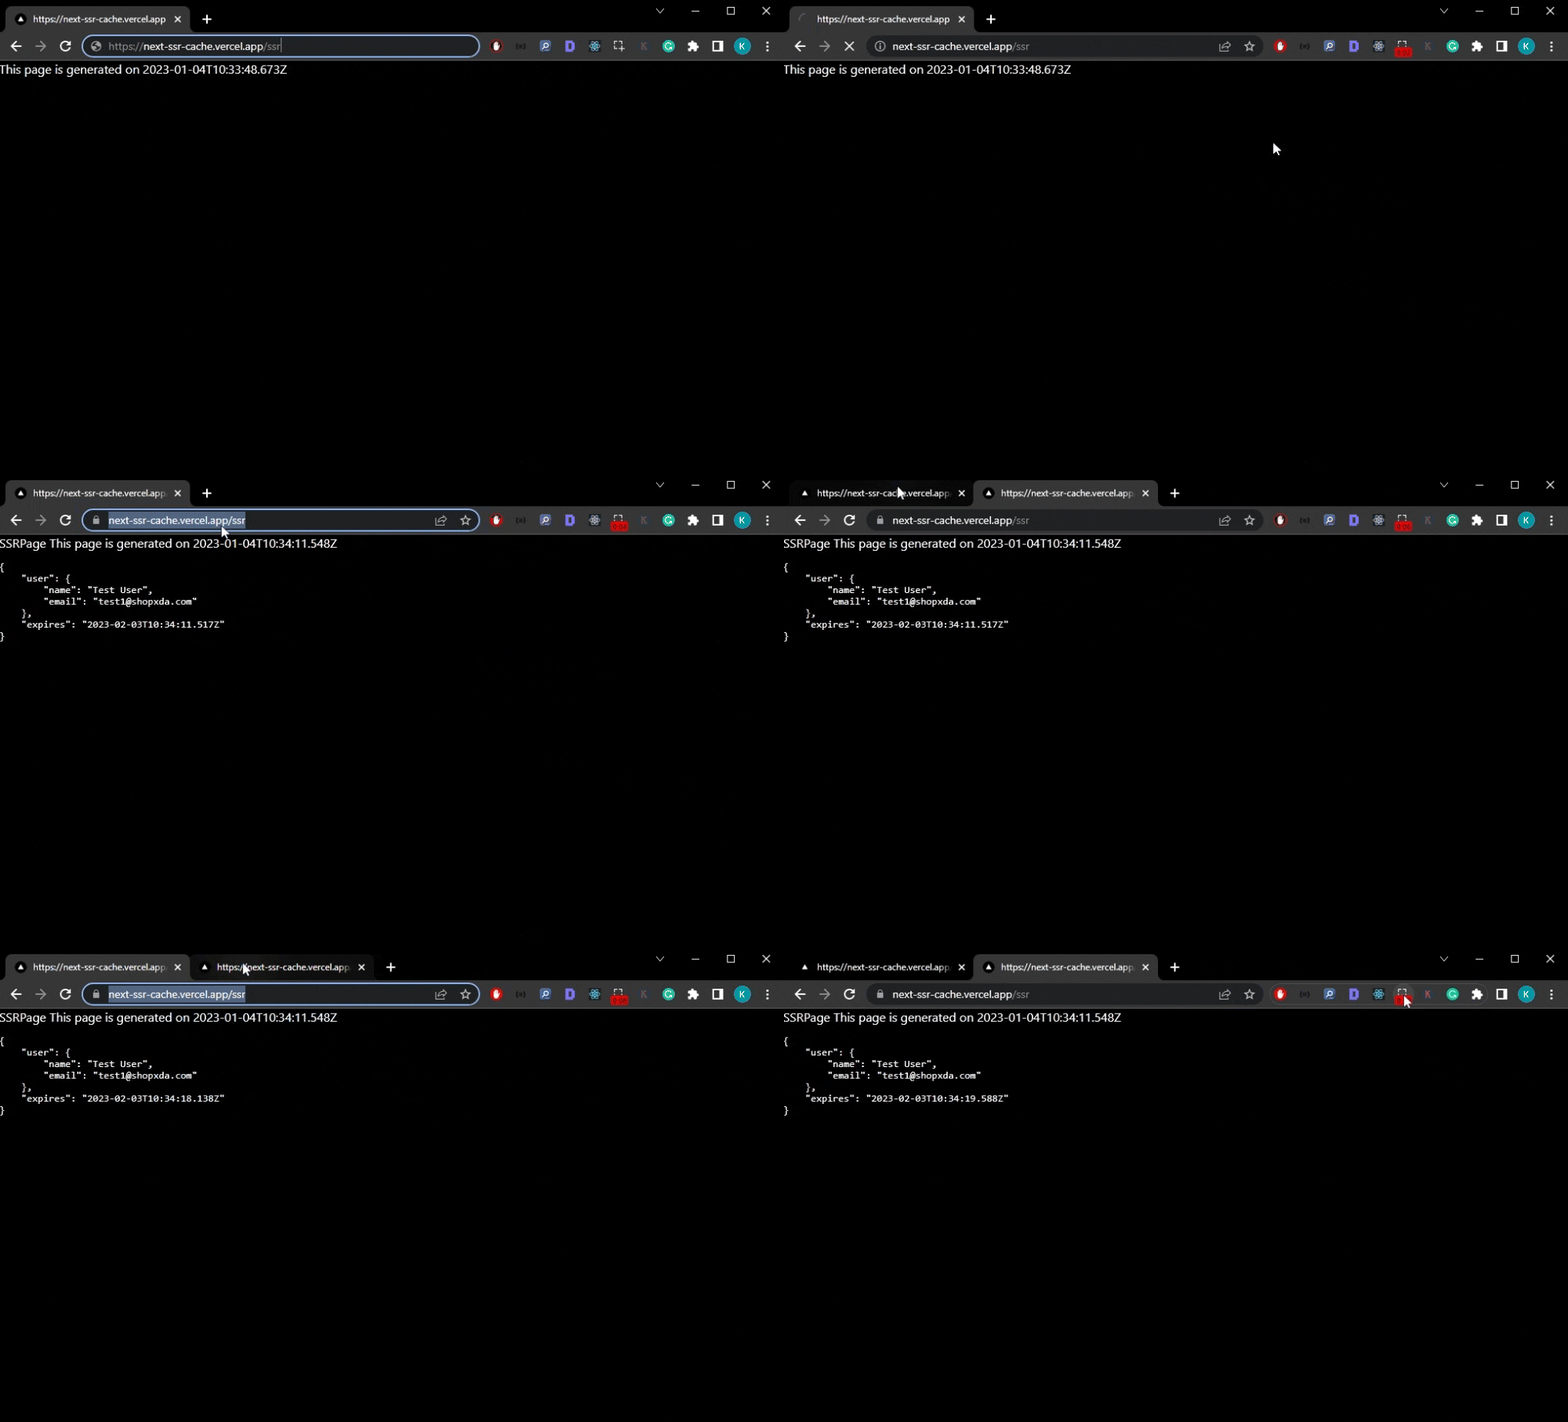
For the demo: You can use if you can go to https://next-ssr-cache.vercel.app/api/auth/signin. For the credentials you can use any email, password is password. Then go to https://next-ssr-cache.vercel.app/ssr. In another tab, go to https://next-ssr-cache.vercel.app/ssr again and check if the date is the same:

Conclusion #
We learned how to add HTTP Cache-Control headers to getServerSideProps pages in our NextJS app. HTTP Cache-Control Headers are important if you want to reduce the amount of calls to your server and increase the response time.
If you like this tutorial, please leave a like or share this article. For future tutorials like this, please subscribe to our newsletter or follow me on Twitter.
The full code can be accessed at GitHub: jmarioste/next-ssr-cache.


