How to Add Navbar to All Pages in NextJS

Jasser Mark Arioste

Hello, hustler! In this tutorial, you'll learn to add a navbar on the routes inside the /pages directory in a NextJS application. If you're using NextJS 13 that uses the /app folder, I will create a separate tutorial for that. To do this, we'll create a common Layout component that contains the Navbar component and the current page.
For styling, I decided to use DaisyUI for this but you can use any UI Library that you like. The main focus of this tutorial is the component structure, not the styling.
Final Output #
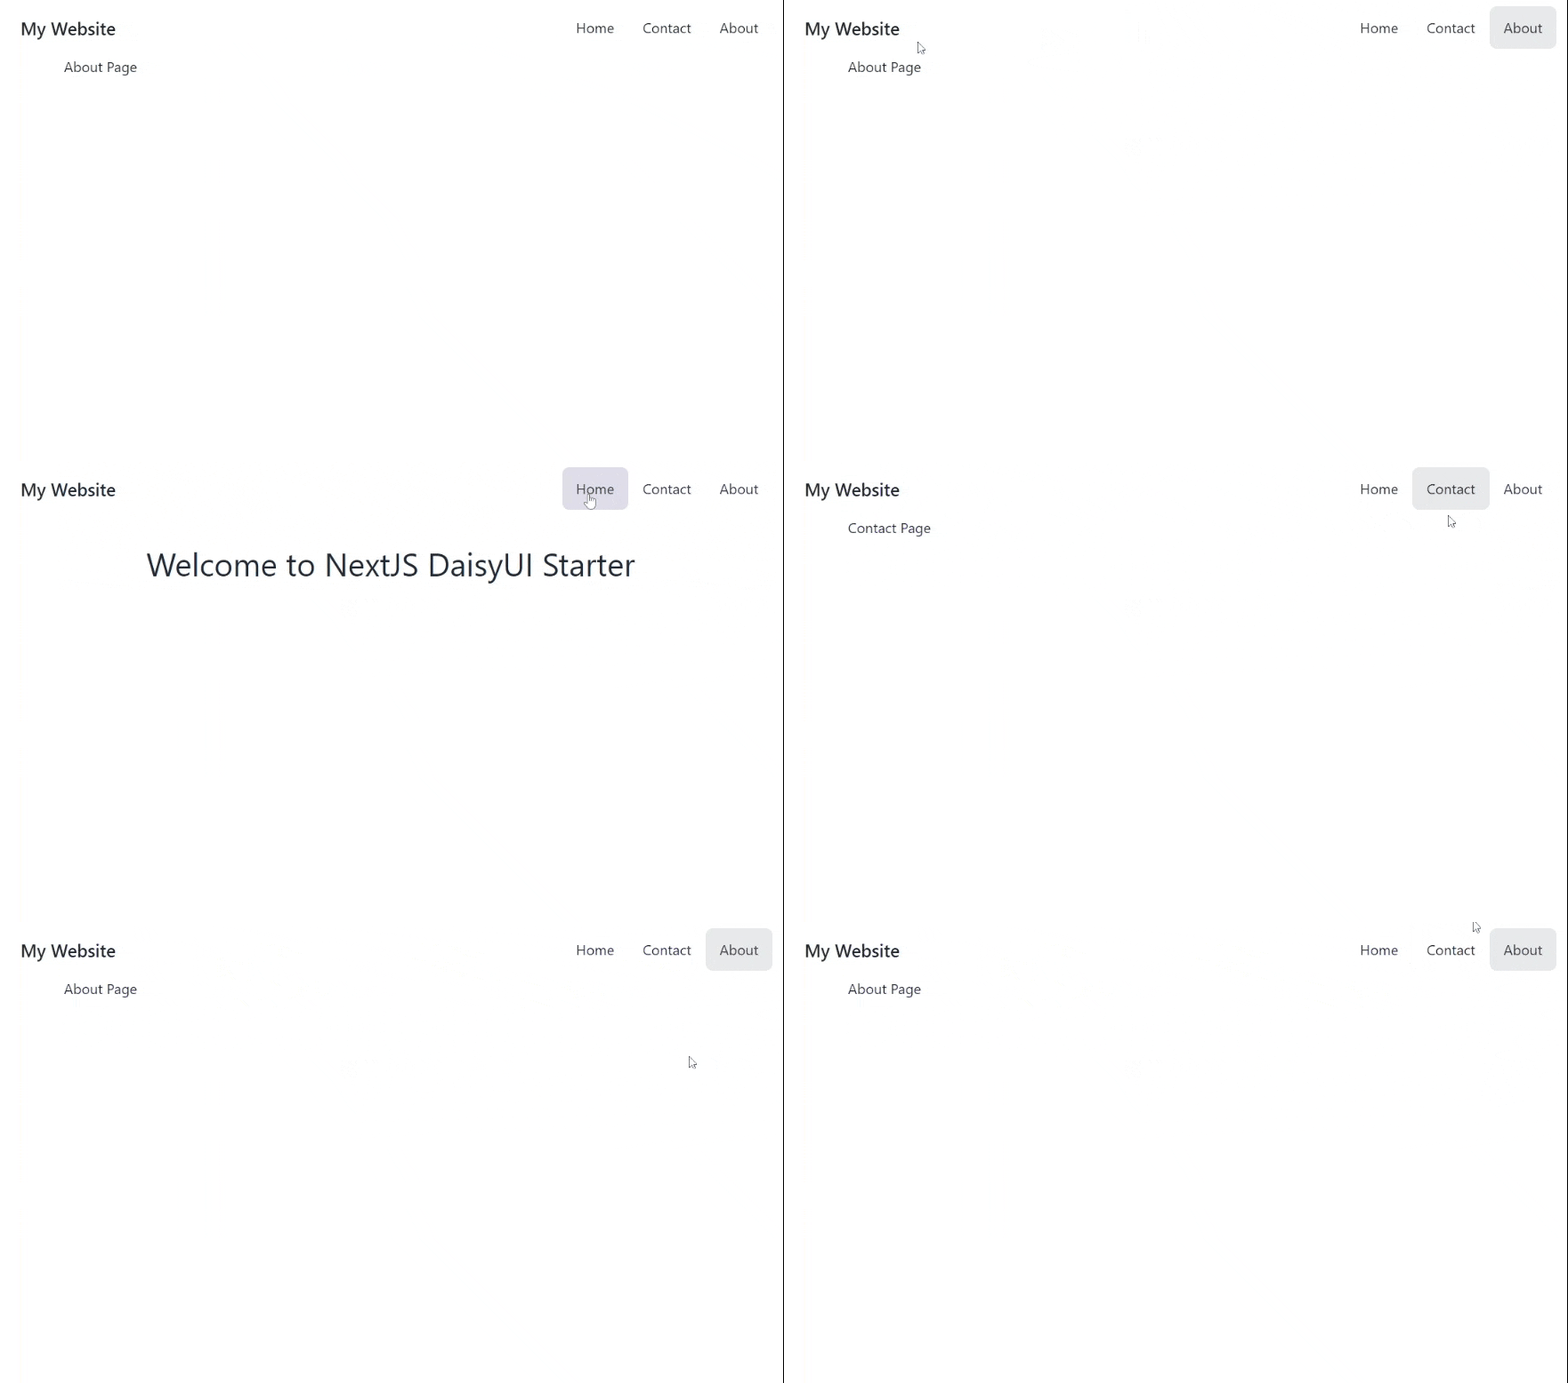
The final output will be like this:

Project Setup #
To follow along with this tutorial, I created a NextJS DaisyUI template starter on GitHub. This uses Next13 but we're still using the /pages directory, it should be the same as NextJS 12. This also uses React18.
Create a new NextJS Project by running the command:
npx create-next-app next-navbar-tutorial -e https://github.com/jmarioste/next-daisyui-starter-plain
After that, run the following command to start the local server:
cd next-navbar-tutorial && yarn devGo to localhost:3000, and you should be greeted by this screen:

Step 1 - Creating a Basic <Navbar/> Component
#
Now that we're done with the setup, let's create a basic <Navbar/> Component. Fortunately, daisyUI has some classes for <Navbar/>. Create the file components/Navbar.tsx and copy the code below.
// components/Navbar.tsx import React from "react"; import Link from "next/link"; import React from "react"; const Navbar = () => { return ( <div className="navbar bg-base-100"> <div className="flex-1"> <a className="btn btn-ghost normal-case text-xl">My Website</a> </div> <div className="flex-none"> <ul className="menu menu-horizontal px-1"> <li> <Link href="/">Home</Link> </li> <li> <Link href="/contact">Contact</Link> </li> <li> <Link href="/about">About</Link> </li> </ul> </div> </div> ); }; export default Navbar;123456789101112131415161718192021222324252627
Step 2 - Creating a <Layout/> Component
#
Next, we'll create the <Layout/> component. A layout component usually contains all the common components for the pages such as <Navbar/> and <Footer/>. Create the file components/Layout.tsx and copy the code below:
import React, { PropsWithChildren } from "react"; import Navbar from "./Navbar"; const Layout = ({ children }: PropsWithChildren) => { return ( <> <Navbar /> {children} </> ); }; export default Layout;1234567891011
Step 3 - Usage #
The next step is to use the Layout component in _app.tsx:
import "../styles/globals.css"; import type { AppProps } from "next/app"; import Layout from "components/Layout"; function MyApp({ Component, pageProps }: AppProps) { return ( <Layout> <Component {...pageProps} />; </Layout> ); } export default MyApp;1234567891011
Step 4 - Adding other Pages #
Next is to add the /contact and the /about pages so that the links will not return 404. Create the files pages/contact.tsx and pages/about.tsx:
pages/contact.tsx:
import React from "react"; const ContactPage = () => { return <div>Contact Page</div>; }; export default ContactPage;12345
pages/about.tsx:
import React from "react"; const AboutPage = () => { return <div>About Page</div>; }; export default AboutPage;12345
That's it!
Full Code #
The full code is available on Github: https://github.com/jmarioste/next-daisyui-starter-plain/tree/step-by-step.
Conclusion #
We learned how to add a Navbar on all pages of a NextJS Project. Though if you're using the /app folder, the implementation will be different than this.
If you like this tutorial, please leave a like or share this article. For future tutorials like this, please subscribe to our newsletter or follow me on Twitter.


