How to Create React Table Sticky Headers with TailwindCSS

Jasser Mark Arioste

Hello, hustler! In this tutorial, you'll learn how to create react table sticky headers and columns with TailwindCSS. We'll also use NextJS as our react framework as it's one of the frameworks recommended by the react documentation.
Final Output #
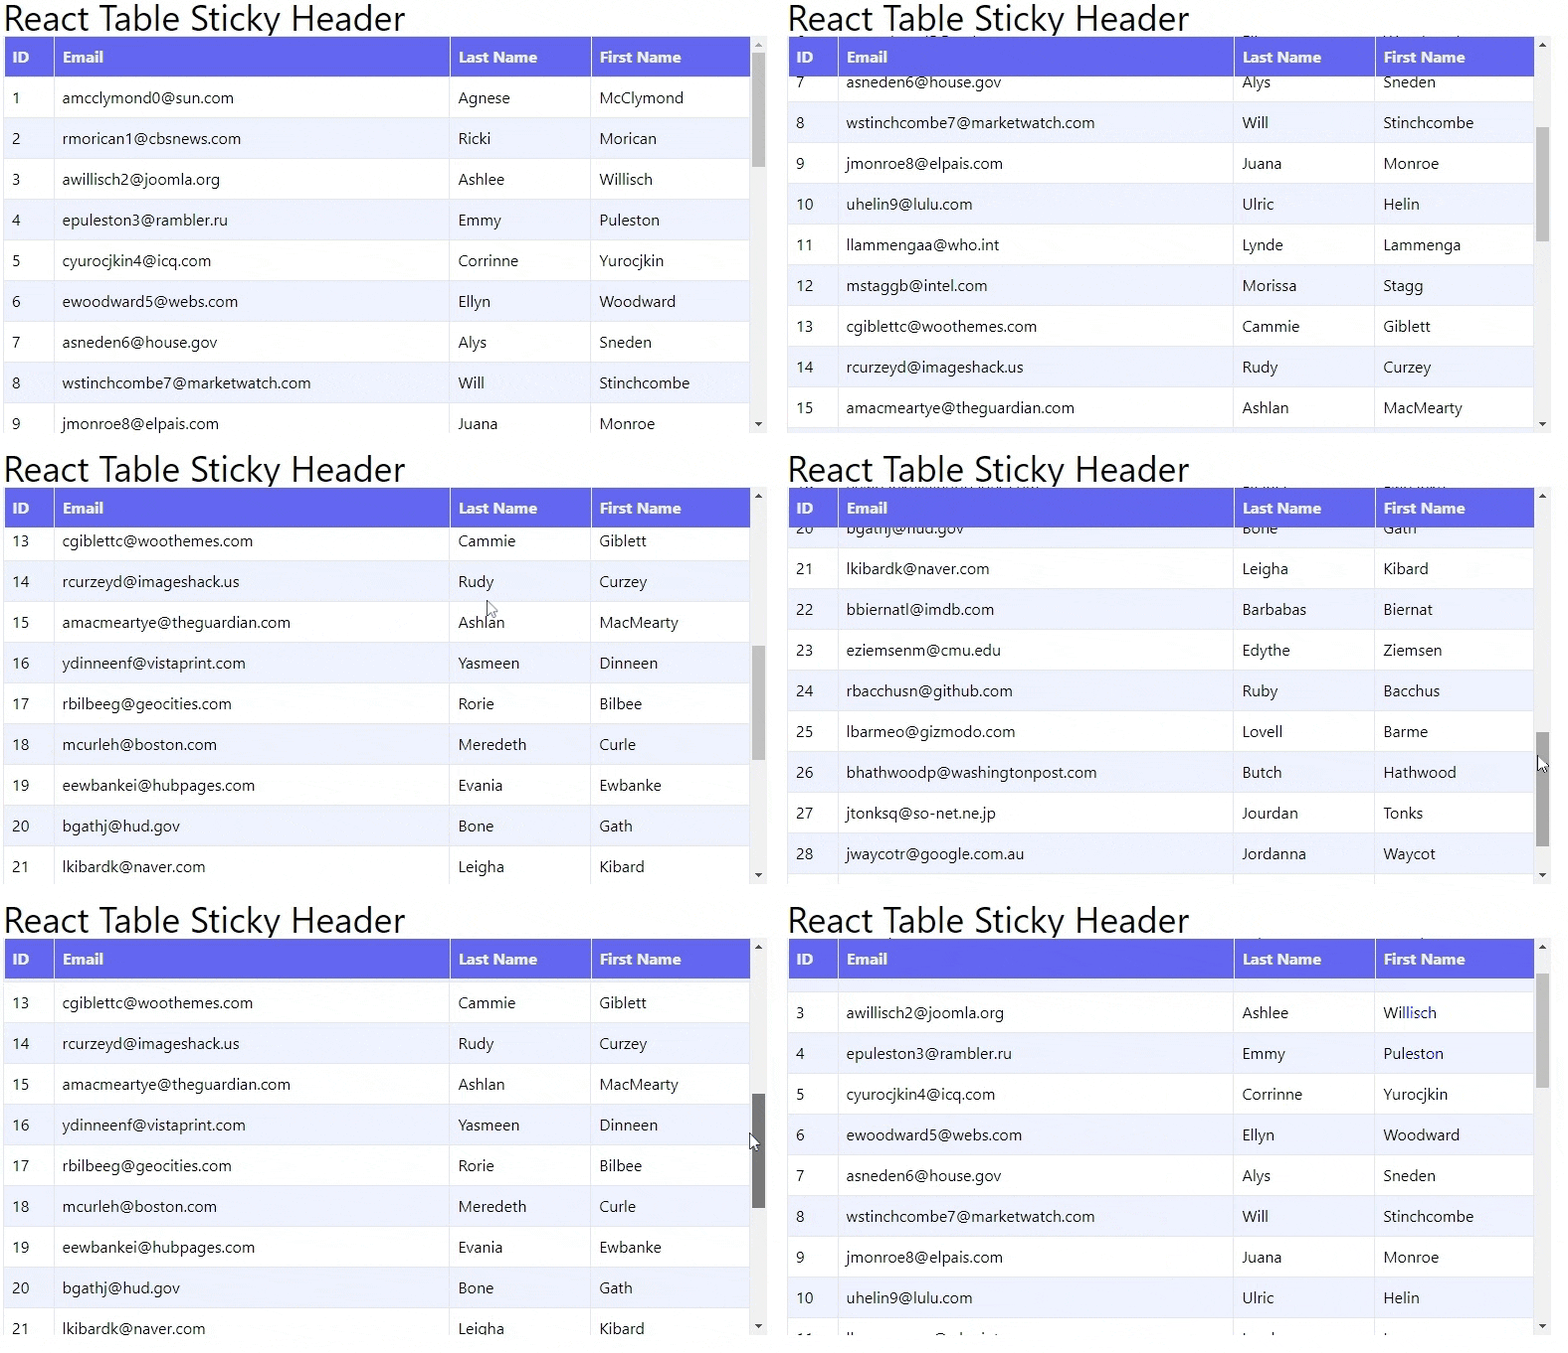
Here's the final output of the react table with a sticky header. We're not using any table libraries, only TailwindCSS to add classes.

Installing TailwindCSS #
In this tutorial, we are using NextJS with TailwindCSS. If you want to follow along from scratch, I already created a NextJS starter template with TailwindCSS preinstalled. We just need to run the following command to install it:
npx create-next-app -e https://github.com/jmarioste/next-tailwind-starter-2 react-table-sticky-header-tutorialAfter download and installation, you can run the following command to start the local dev server:
cd react-table-sticky-header-tutorial && yarn devIf you're using a different framework like Vite or are using an existing NextJS project, make sure you check the tailwind docs on how to install it to your specific framework.
Creating the <Table/> Component
#
Let's create a table component without any data. First, create the file, components/Table.tsx and copy the code below.
// components/Table.tsx
const Table = () => {
  return (
    <table className="w-full relative">
      <thead className="sticky top-0 bg-indigo-500">
        <tr>
          <th className="text-left border text-indigo-50 p-2">ID</th>
          <th className="text-left border text-indigo-50 p-2">Email</th>
          <th className="text-left border text-indigo-50 p-2">Last Name</th>
          <th className="text-left border text-indigo-50 p-2">First Name</th>
        </tr>
      </thead>
      <tbody className="z-0">

      </tbody>
    </table>
  );
};
export default Table;12345678910111213141516171819
Explanation:
In line 4: we use w-full class so that the table takes the full width of its parent element. We also use relative class to make sure that the sticky class works.
In line 5: we use sticky top-0 classes to make the table header stickied to the top of the parent element. We also change the background using bg-indigo-500 otherwise we'll be able to see the table rows.
Next, let's use it in pages/index.tsx so that we can see the output:
// pages/index.tsx import type { NextPage } from "next"; import Table from "../components/Table"; const Home: NextPage = () => { return ( <div className="container mx-auto"> <h1 className="text-2xl">React Table Sticky Header </h1> <div className="max-h-[400px] overflow-y-auto"> <Table /> </div> </div> ); }; export default Home;12345678910111213141516
Explanation:
In line 9, we wrap the <Table/> component and use max-h-[400px] class to set the maxHeight to 400px.
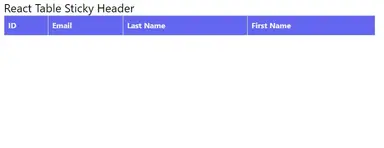
After that, you'll see something like this as the output:

At this point, the sticky header should already work. We only need to add some data.
Rendering Some Data #
For example purposes, I like to use the usehooks-ts library to fetch some data. First, let's install it using the following command:
#yarn
yarn add usehooks-ts

#npm
npm i usehooks-ts12345
The usehooks library contains some really useful custom hooks and one of them is the useFetch() hook. This hook simplifies fetching data since we don't have to use a useEffect and useState hook.
All right, let's modify the <Table/> component as shown below. I've also added comments so make sure you don't skip them.
// components/Table.tsx import { useFetch } from "usehooks-ts"; // lines 6-16. we're using dummyjson.com api for getting users data // since I'm using typescript, we create the type for the data we're expecting type GetUsersResult = { users: { id: number; firstName: string; lastName: string; email: string; }[]; total: number; skip: number; limit: number; }; const Table = () => { // line 21. use the dummyjson.com endpoint and limit it to 15 users. // select the fields that we need for this table const endpoint = "https://dummyjson.com/users?limit=15&&select=firstName,lastName,email"; const { data } = useFetch<GetUsersResult>(endpoint); return ( <table className="w-full relative"> <thead className="sticky top-0 bg-indigo-500"> <tr> <th className="text-left border text-indigo-50 p-2">ID</th> <th className="text-left border text-indigo-50 p-2">Email</th> <th className="text-left border text-indigo-50 p-2">Last Name</th> <th className="text-left border text-indigo-50 p-2">First Name</th> </tr> </thead> <tbody className="z-0"> {/* render the data */} {data?.users?.map((user) => { return ( <tr key={user.id} className="bg-indigo-50 odd:bg-white"> <td className="text-left p-2">{user.id}</td> <td className="text-left p-2">{user.email}</td> <td className="text-left p-2">{user.firstName}</td> <td className="text-left p-2">{user.lastName}</td> </tr> ); })} </tbody> </table> ); }; export default Table;123456789101112131415161718192021222324252627282930313233343536373839404142434445464748495051
Refactoring <th/> and <td/>
#
We have some duplicate code in our component. Let's create custom <Th/> and <Td/> component so that it already contains the classNames.
// components/Table.tsx
import { useFetch } from "usehooks-ts";
import { ComponentPropsWithRef } from "react";

// ... omitted for brevity

export default Table;

const Th = (props: ComponentPropsWithRef<"th">) => {
  return <th {...props} className="text-left border text-indigo-50 p-2" />;
};
const Td = (props: ComponentPropsWithRef<"td">) => {
  return <td {...props} className="border p-2 " />;
};1234567891011121314
We can now replace our th and td elements with the custom components:
// components/Table.tsx //... const Table = () => { const endpoint = "https://dummyjson.com/users?limit=15&&select=firstName,lastName,email"; const { data } = useFetch<GetUsersResult>(endpoint); return ( <table className="w-full relative"> <thead className="sticky top-0 bg-indigo-500"> <tr> <Th>ID</Th> <Th>Email</Th> <Th>Last Name</Th> <Th>First Name</Th> </tr> </thead> <tbody className="z-0"> {/* render the data */} {data?.users?.map((user) => { return ( <tr key={user.id} className="bg-indigo-50 odd:bg-white"> <Td>{user.id}</Td> <Td>{user.email}</Td> <Td>{user.firstName}</Td> <Td>{user.lastName}</Td> </tr> ); })} </tbody> </table> ); };1234567891011121314151617181920212223242526272829303132
That's basically it!
Full Code and Demo #
The full code can be accessed at GitHub: jmarioste/react-table-sticky-header-tutorial.
You can play with the Demo on Stackblitz: React Table Sticky Header
Conclusion #
You learned how to create a react table with a sticky header by only using TailwindCSS classes.
If you like this tutorial, please leave a like or share this article. For future tutorials like this, please subscribe to our newsletter or follow me on Twitter.
Resources #
Credits: Image by Makalu from Pixabay


