How to Fetch Data From APIs in NextJS

Jasser Mark Arioste

Hello, hustlers! In this tutorial, you'll learn how to fetch data from an API in NextJS. We'll start from the basics only using by only using the useEffect hook, and then the useFetch hook from usehooks-ts library, and then the useSWR hook from swr library.
Introduction #
Data fetching has always been a critical part of web applications, whether you have a simple website like a blog or a complex social media app. It would make sense to use the tools that give us the speed, flexibility, and maintainability of our code.
In NextJS, there are a couple of ways to implement data fetching which is different for every project for example a blog might only need to rely on getStaticProps or getServerSideProps for data. A social media app, on the other hand, needs the help of custom client-side hooks for data fetching like swr, react-query or graphql clients like urql.
This tutorial is intended for beginners to intermediate developers and hopefully, you can get some insights on how to proceed for your NextJS project.
Tutorial Objectives #
By the end of this tutorial, you'll learn the following:
- How to use
useEffect+fetchto fetch data from an API - How to use
useFetchfromusehooks-tslibrary to fetch data from an API - How to use
useSWRfrom theswrlibrary to fetch data from an API
Using useEffect + fetch for data fetching
#
It's completely possible to not add any dependencies to your project by relying only on useEffect, useState and fetch. But it's also the most time-consuming and least maintainable of all the three options.
However, from a learning standpoint, it helps to know the basics of how to use this technique. Once you know how to use this method, you'll be able to appreciate the other two examples.
To be able to properly display data on the UI, we need to track three states: data, loading and error. Below is an example of how to achieve this:
import React, { useEffect, useState } from "react"; // anticipate the returned response type TodoResponse = { userId: number; id: number; title: string; completed: boolean; }; const Example1UseEffect = () => { // set the states for data,loading, and error const [data, setData] = useState<TodoResponse | null>(null); const [loading, setLoading] = useState(false); const [error, setError] = useState(""); // use useEffect to load data after the first render useEffect(() => { // set loading to true before calling fetch setLoading(true); fetch(`https://jsonplaceholder.typicode.com/todos/1`) .then(async (res) => { // set the data if the response is successful const todo: TodoResponse = await res.json(); setData(todo); }) .catch((e) => { // set the error if there's an error like 404, 400, etc if (e instanceof Error) { setError(e.message); } }) .finally(() => { // set loading to false after everything has completed. setLoading(false); }); }, []); // display for loading component const loadingComponent = <div>Loading...</div>; // display for error component const errorComponent = <div className="text-red-500">Error: {error}</div>; // display loading, error and data based on the state return ( <div className="p-24"> {loading ? ( loadingComponent ) : error ? ( errorComponent ) : ( <div> <p>Loading complete and no errors. Displaying data...</p> <code>{JSON.stringify(data, null, 4)}</code> </div> )} </div> ); }; export default Example1UseEffect;12345678910111213141516171819202122232425262728293031323334353637383940414243444546474849505152535455565758596061
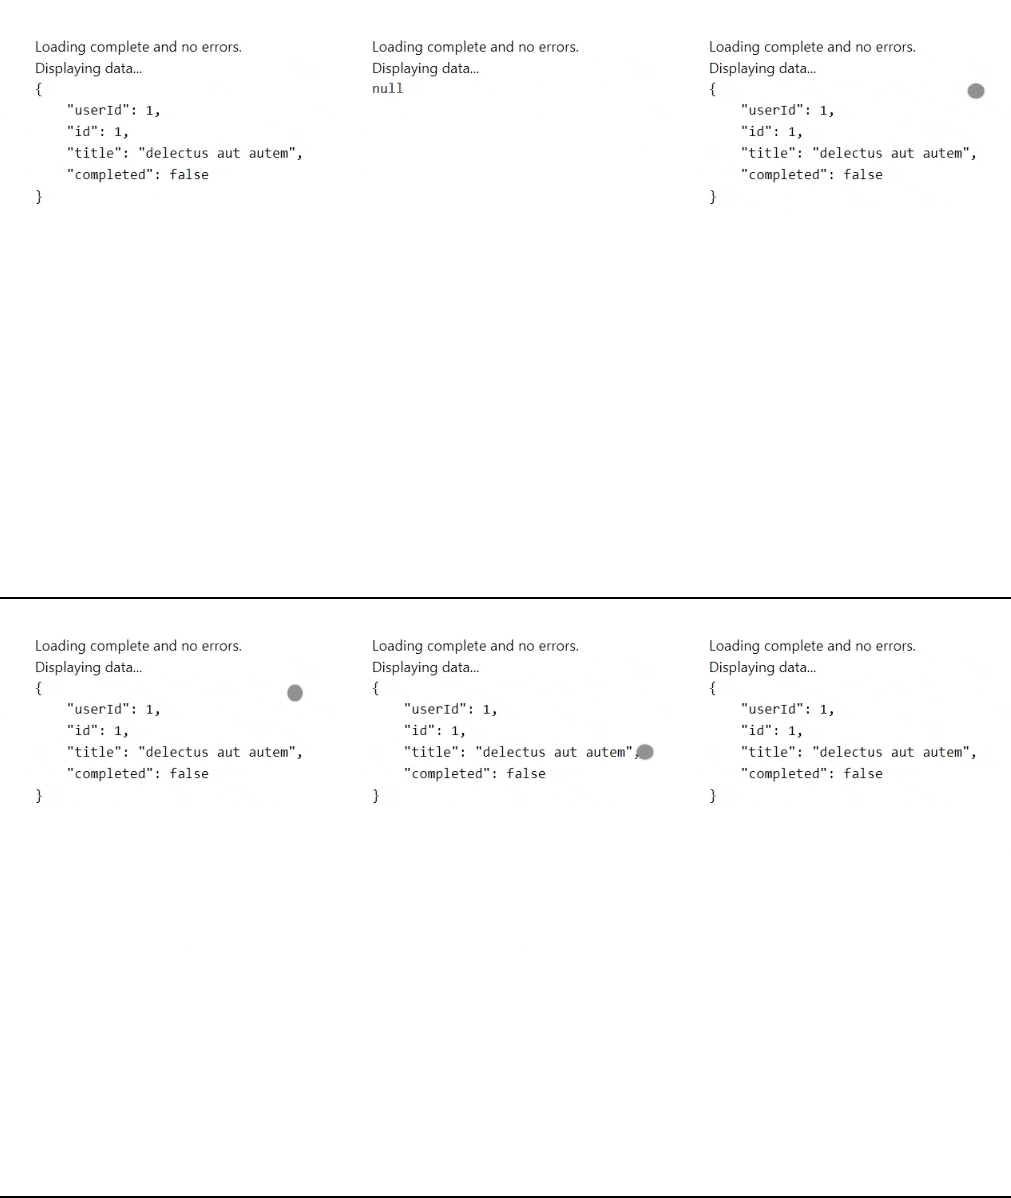
Here's the output. It's hard to see the loading state since this is on localhost:

To call data from API based on user interactions like clicks, we can extract our function from useEffect and use it as a callback function on onClick.
import React, { useEffect, useState } from "react"; // anticipate the returned response type TodoResponse = { userId: number; id: number; title: string; completed: boolean; }; const Example1UseEffect = () => { // set the states for data,loading, and error const [data, setData] = useState<TodoResponse | null>(null); const [loading, setLoading] = useState(false); const [error, setError] = useState(""); const fetchTodo = () => { // set loading to true before calling fetch setLoading(true); fetch(`https://jsonplaceholder.typicode.com/todos/1`) .then(async (res) => { // set the data if the response is successful const todo: TodoResponse = await res.json(); setData(todo); }) .catch((e) => { // set the error if there's an error like 404, 400, etc if (e instanceof Error) { setError(e.message); } }) .finally(() => { // set loading to false after everything has completed. setLoading(false); }); }; // use useEffect to load data after the first render // useEffect(fetchTodo, []); // display for loading component const loadingComponent = <div>Loading...</div>; // display for error component const errorComponent = <div className="text-red-500">Error: {error}</div>; // display loading, error and data based on the state return ( <div className="p-10"> <button onClick={fetchTodo}>Fetch Todo</button> {loading ? ( loadingComponent ) : error ? ( errorComponent ) : ( <div> <p>Loading complete and no errors. Displaying data...</p> <pre>{JSON.stringify(data, null, 4)}</pre> </div> )} </div> ); }; export default Example1UseEffect;12345678910111213141516171819202122232425262728293031323334353637383940414243444546474849505152535455565758596061626364
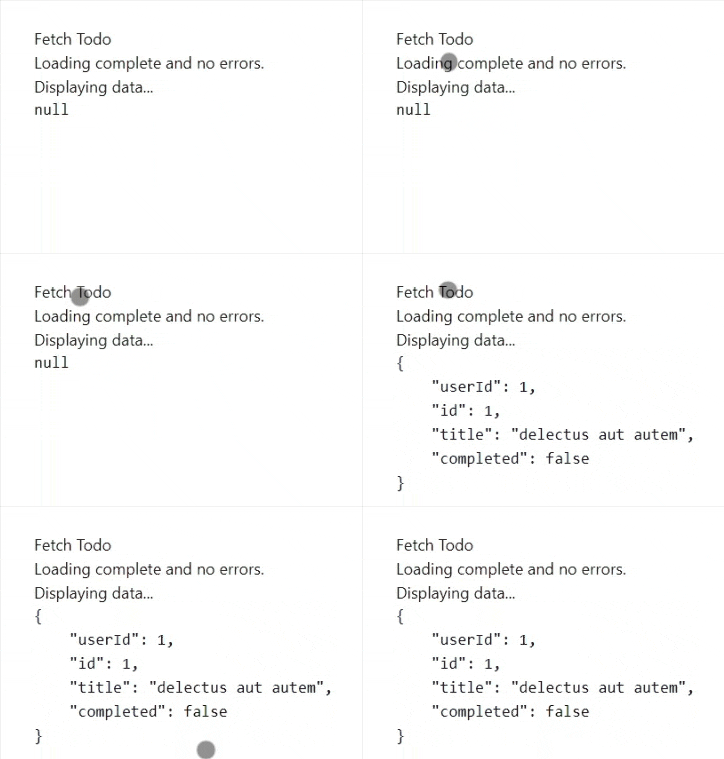
Here's the output:

This is fine for very small apps, but the more you use this technique, and the bigger your app gets, you'll be able to see the same patterns repeating. This will be cumbersome to maintain and will be time-consuming in the long run.
This could somehow be solved by the next technique we're going to explore.
Using useFetch from usehooks-ts
#
The useFetch hook simplifies our implementation since we don't have to process the data using the fetch API. It already does this internally. We just have to pass a URL and it gives us the data and error states. To use the useFetch hook, first, let's install usehooks-ts library:
yarn add usehooks-tsNow we can refactor our code to the following:
import React from "react"; import { useFetch } from "usehooks-ts"; // anticipate the returned response type TodoResponse = { userId: number; id: number; title: string; completed: boolean; }; const UseFetchExample = () => { const { data, error } = useFetch<TodoResponse>( `https://jsonplaceholder.typicode.com/todos/1` ); // derive the loading state based on data and error state const loading = !data && !error; // display for loading component const loadingComponent = <div>Loading...</div>; // display for error component const errorComponent = ( <div className="text-red-500"> <h2>Error: {error?.name}</h2> <p> {error?.message}</p> </div> ); // display to the ui accordingly return ( <div> {loading ? ( loadingComponent ) : error ? ( errorComponent ) : ( <div className="p-10"> <p>Displaying Todo:</p> <div> <p>id: {data?.id}</p> <p>userId: {data?.userId}</p> <p>title: {data?.title}</p> <p>completed: {data?.completed}</p> </div> </div> )} </div> ); }; export default UseFetchExample;1234567891011121314151617181920212223242526272829303132333435363738394041424344454647
With this, our code is much cleaner. However, there are still problems with the useFetch hook. It doesn't allow us to load the data manually and that's a problem for some scenarios. This issue can be solved in the next example by using the useSWR hook.
Using useSWR to fetch data
#
The swr library is a popular, lightweight, open-source library for client-side data-fetching in React applications made by the same folks at NextJS. It is also highly recommended by them. It can handle caching, revalidation, focus tracking, refetching on intervals, and more. In this tutorial, we'll focus more on data fetching.
First, let's install the swr library:
yarn add swr1
Next, we have to create a "fetcher" function. This function is usually a wrapper function for fetch but you can use other clients such as axios if you wish.
import React from "react"; import useSWR from "swr"; // anticipate the returned response type TodoResponse = { userId: number; id: number; title: string; completed: boolean; }; // create a fetcher function, just wrap fetch const fetcher = (key: string) => fetch(key).then((res) => res.json()); const UseSwrExample = () => { const url = `https://jsonplaceholder.typicode.com/todos/1`; const { data, error, isLoading } = useSWR<TodoResponse>(url, fetcher); const loadingComponent = <div>Loading...</div>; // display for error component const errorComponent = ( <div className="text-red-500"> <h2>Error: {error?.name}</h2> <p> {error?.message}</p> </div> ); // display to the ui accordingly return ( <div> {isLoading ? ( loadingComponent ) : error ? ( errorComponent ) : ( <div className="p-10"> <p>Displaying Todo:</p> <div> <p>id: {data?.id}</p> <p>userId: {data?.userId}</p> <p>title: {data?.title}</p> <p>completed: {data?.completed ? "Yes" : "No"}</p> </div> </div> )} </div> ); }; export default UseSwrExample;12345678910111213141516171819202122232425262728293031323334353637383940414243444546
For manual API calls or conditional data fetching, we can use a useState hook to pass a null key and then set the key to the desired URL when user interaction occurs such as an onClick event. For example:
import React, { useState } from "react"; import useSWR, { Fetcher } from "swr"; // anticipate the returned response type TodoResponse = { userId: number; id: number; title: string; completed: boolean; }; // create a fetcher function, just wrap fetch const fetcher = (key: string) => fetch(key).then((res) => res.json()); const UseSwrExample = () => { const [key, setKey] = useState<string | null>(null); const { data, error, isLoading } = useSWR<TodoResponse>(key, fetcher); // ... omitted for brevity return ( <div className="p-10"> <button className="bg-indigo-500 p-2" onClick={() => setKey(`https://jsonplaceholder.typicode.com/todos/1`)} > {" "} Fetch Data </button> {/* ...omitted for brevity */} </div> ); }; export default UseSwrExample;12345678910111213141516171819202122232425262728293031
That's it! To know more about SWR and its capabilities, you can check the documentation.
Full Code and Demo #
The full code is available on my GitHub: jmarioste/nextjs-fetch-data-from-api-examples. Each example has a separate file in the pages directory.
The demo can be accessed on Stackblitz: Jmarioste - Nextjs Fetch Data From Api Examples. Be sure to navigate the correct pages directory for the examples.
Conclusion #
You learned how to fetch data from an API in NextJS starting from the most basic to a bit more intermediate example. Now it's up to your judgment to choose the best method for your project.
If you like this tutorial, please leave a like or share this article. For future tutorials like this, please subscribe to our newsletter or follow me on GitHub.
Resources #
Credits: Image by Dima Burakov from Pixabay


