How to Scroll to an HTML Element in NextJS

Jasser Mark Arioste

Hello! In this tutorial, you'll learn how to scroll smoothly to an element in NextJS. We'll discuss different techniques when scrolling to an element in NextJS or React. We're also using Typescript since that's what I always use for my tutorials.
Objectives of this Tutorial #
- Learn how to use the
Element.scrollIntoView()method with next/link component. - Learn how to use the
window.scrollTo()method as an alternative. - Create a custom
<ScrollLink/>component to easily add this behavior.
What's the default behavior? #
Suppose you have the following code that uses next/link + href to scroll to a specific element id. This will already work but the problem is, there's no smooth animation when scrolling. Sometimes we need to add smooth scrolling for a better user experience.
import { NextPage } from "next"; import Link from "next/link"; import React from "react"; const HomePage: NextPage = () => { return ( <> <div className="grid place-content-center min-h-screen bg-gray-900 text-gray-50" id="section-0" > <section className="flex flex-col items-center gap-4"> {/* add href with hash to an elementId */} <Link className="btn" href="#section-1"> Scroll to Section 1 </Link> </section> </div> {/* add id to section */} <section className="grid place-content-center min-h-screen bg-gray-100" id="section-1" > <div className="flex flex-col items-center gap-4"> <h2 className="text-xl my-2">Section 1</h2> <Link className="btn" href="#section-0"> Back to Top </Link> </div> </section> </> ); }; export default HomePage;123456789101112131415161718192021222324252627282930313233
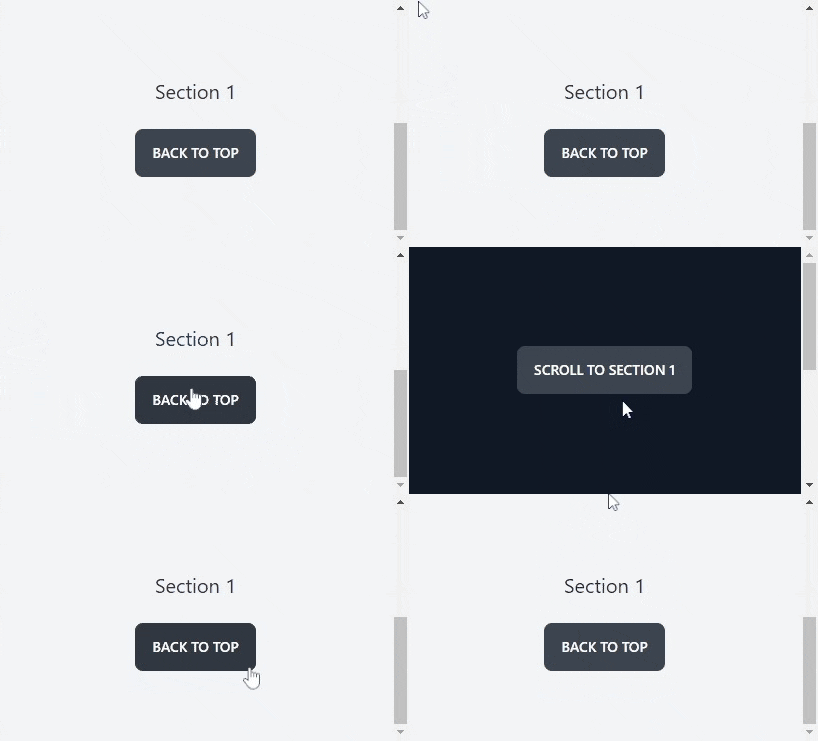
Here's a demo an as you can see, it jumps to the element with no animation:

Method 1 - Using Element.scrollIntoView()
#
Next, we're going to add smooth scroll animation to using Element.scrollIntoView() method. First, we're going to define an onClick handler like below:
import { NextPage } from "next";
import Link from "next/link";
import React from "react";
const HomePage: NextPage = () => {
  const handleScroll = (e: React.MouseEvent<HTMLAnchorElement, MouseEvent>) => {
    e.preventDefault(); //prevent the default behavior
  };
  return (
    <>
      <div
        className="grid place-content-center min-h-screen bg-gray-900 text-gray-50"
        id="section-0"
      >
        <section className="flex flex-col items-center gap-4">
          {/* add href with hash to an elementId */}
          <Link className="btn" href="#section-1">
            Scroll to Section 1
          </Link>
        </section>
      </div>
      ...
    </>
  );
};
export default HomePage;12345678910111213141516171819202122232425
Next, we're going to add the functionality using scrollIntoView:
import { NextPage } from "next";
import Link from "next/link";
import React from "react";
const HomePage: NextPage = () => {
  const handleScroll = (e: React.MouseEvent<HTMLAnchorElement, MouseEvent>) => {
    // first prevent the default behavior
    e.preventDefault();
    // get the href and remove everything before the hash (#)
    const href = e.currentTarget.href;
    const targetId = href.replace(/.*\#/, "");
    // get the element by id and use scrollIntoView
    const elem = document.getElementById(targetId);
    elem?.scrollIntoView({
      behavior: "smooth",
    });
  };
  return (
    <>
      <div
        className="grid place-content-center min-h-screen bg-gray-900 text-gray-50"
        id="section-0"
      >
        <section className="flex flex-col items-center gap-4">
          {/* add href with hash to an elementId */}
          <Link className="btn" href="#section-1" onClick={handleScroll}>
            Scroll to Section 1
          </Link>
        </section>
      </div>
      {/* add id to section */}
      <section
        className="grid place-content-center min-h-screen bg-gray-100"
        id="section-1"
      >
        <div className="flex flex-col items-center gap-4">
          <h2 className="text-xl my-2">Section 1</h2>
          <Link className="btn" href="#section-0" onClick={handleScroll}>
            Back to Top
          </Link>
        </div>
      </section>
    </>
  );
};
export default HomePage;123456789101112131415161718192021222324252627282930313233343536373839404142434445
Explanation:
We're using the href property and getting the target scroll element from that. Then we're using elem?.scrollIntoView() to scroll to that element.
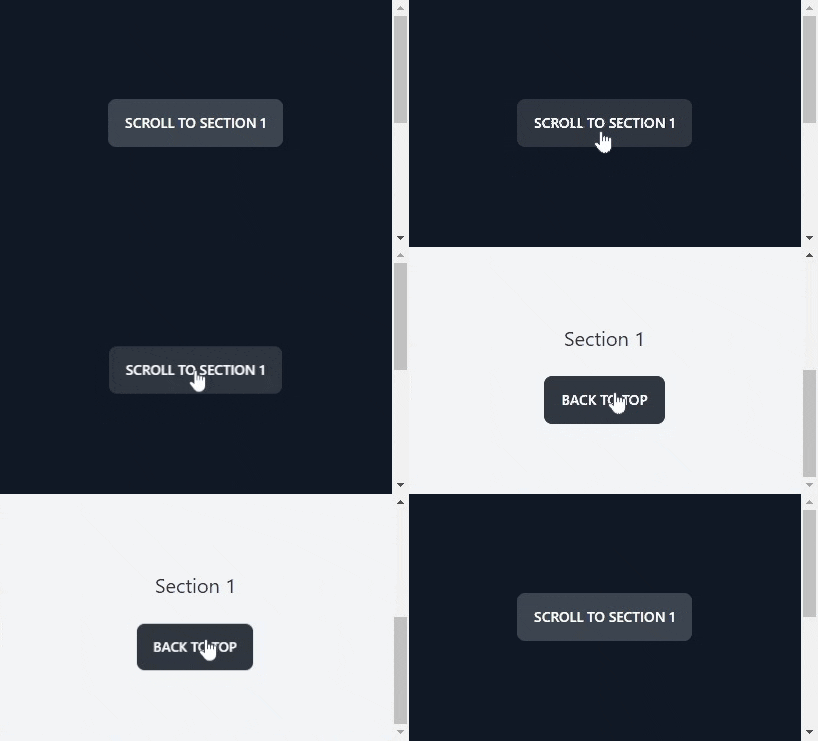
Here's the demo after this step:

Method 2 - Using window.scrollTo() method
#
Alternatively, you can use the window.scrollTo method which has more official support (more than 93%). To use it, modify your click handler to this:
...
  const handleScroll = (e: React.MouseEvent<HTMLAnchorElement, MouseEvent>) => {
    // first prevent the default behavior
    e.preventDefault();
    // get the href and remove everything before the hash (#)
    const href = e.currentTarget.href;
    const targetId = href.replace(/.*\#/, "");
    // get the element by id and use scrollIntoView
    const elem = document.getElementById(targetId);
    window.scrollTo({
      top: elem?.getBoundingClientRect().top,
      behavior: "smooth",
    });
  };
...123456789101112131415
Explanation:
We still get a hold of the target element but we get it's top position, and then use window.scrollTo to scroll to that position.
Creating a Reusable Component #
Next, let's create a reusable component so that we don't have to attach a click handler for each <Link/>. First, create the file components/ScrollLink.tsx:
// components/ScrollLink.tsx import Link, { LinkProps } from "next/link"; import React, { PropsWithChildren } from "react"; // mirror the props of next/link component type AnchorProps = Omit< React.AnchorHTMLAttributes<HTMLAnchorElement>, keyof LinkProps >; type ScrollLinkProps = AnchorProps & LinkProps & PropsWithChildren; // component definition const ScrollLink = ({ children, ...props }: ScrollLinkProps) => { const handleScroll = (e: React.MouseEvent<HTMLAnchorElement, MouseEvent>) => { e.preventDefault(); //remove everything before the hash const targetId = e.currentTarget.href.replace(/.*\#/, ""); const elem = document.getElementById(targetId); window.scrollTo({ top: elem?.getBoundingClientRect().top, behavior: "smooth", }); }; return ( <Link {...props} onClick={handleScroll}> {children} </Link> ); }; export default ScrollLink;12345678910111213141516171819202122232425262728
To use it, we now replace our <Link/> component with <ScrollLink/>:
import ScrollLink from "components/ScrollLink"; import { NextPage } from "next"; import React from "react"; const HomePage: NextPage = () => { return ( <> <div className="grid place-content-center min-h-screen bg-gray-900 text-gray-50" id="section-0" > <section className="flex flex-col items-center gap-4"> {/* add href with hash to an elementId */} <ScrollLink className="btn" href="#section-1"> Scroll to Section 1 </ScrollLink> </section> </div> {/* add id to section */} <section className="grid place-content-center min-h-screen bg-gray-100" id="section-1" > <div className="flex flex-col items-center gap-4"> <h2 className="text-xl my-2">Section 1</h2> <ScrollLink className="btn" href="#section-0"> Back to Top </ScrollLink> </div> </section> </> ); }; export default HomePage;123456789101112131415161718192021222324252627282930313233
That's it!
Conclusion #
We learned three different ways to scroll smoothly to an element in NextJS. In the last method, we created a reusable scroll link component by creating a wrapper for the next/link component so that we don't have to add an onClick handler to each link.
If you like this tutorial, please leave a like or share this article. For future tutorials like this, please subscribe to our newsletter or follow me on Twitter.


