How to Create a React Sticky Footer / Navbar in TailwindCSS

Jasser Mark Arioste

Hello, hustlers! In this tutorial, you'll learn how to create a sticky footer using Tailwind CSS. This will always stick to the bottom of the screen.
Final Output #
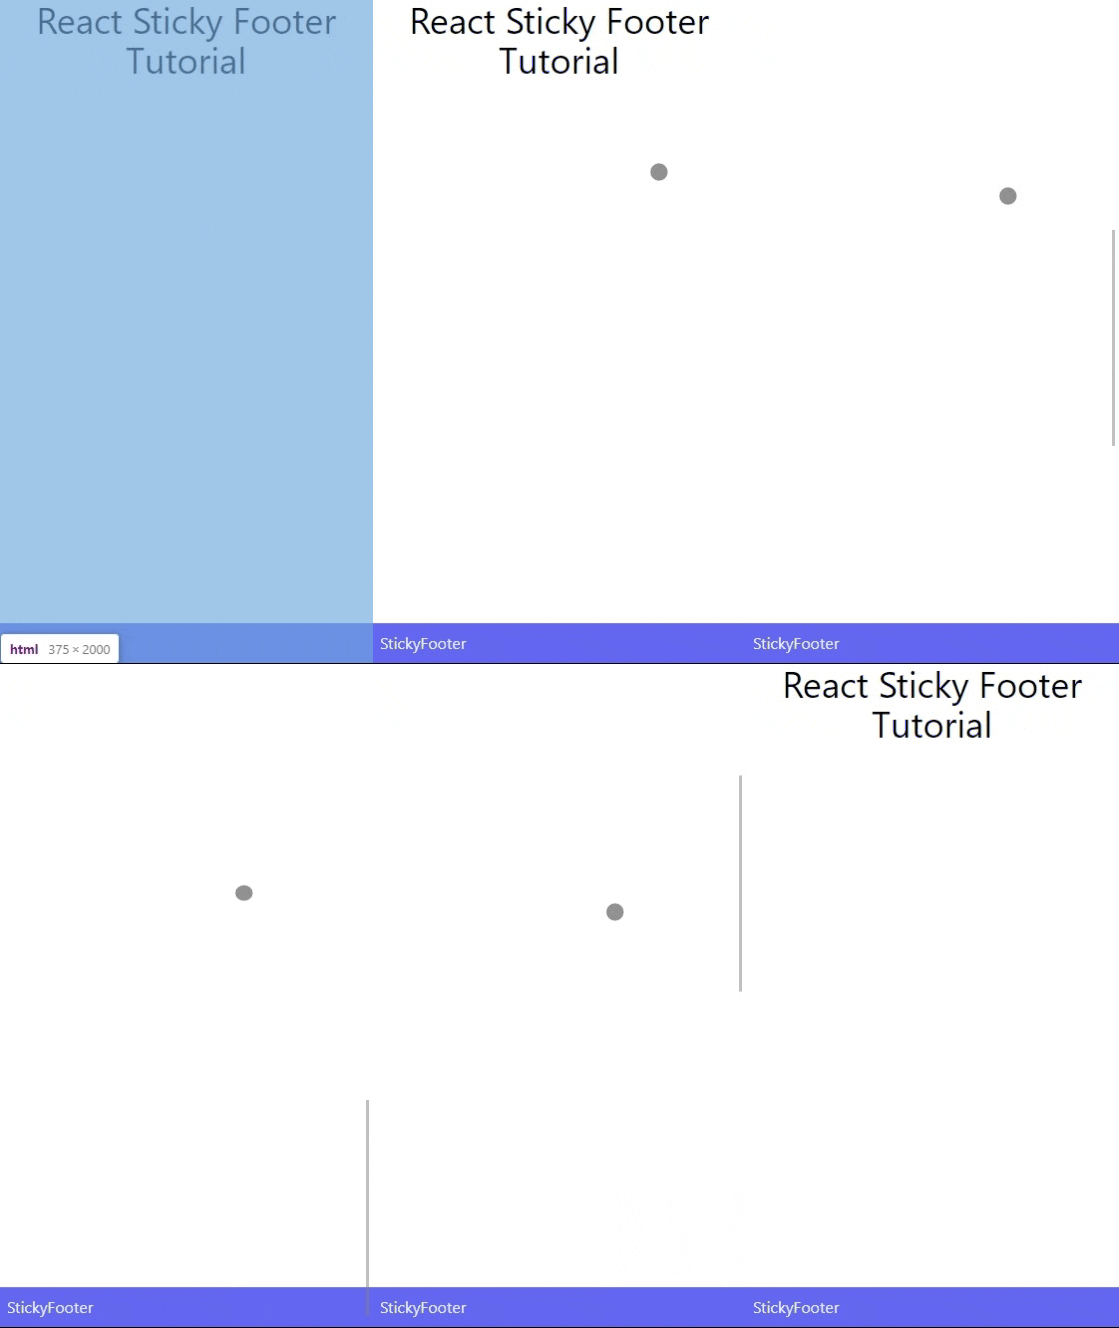
Here's the final output of what we'll be making today.
Tutorial Objectives #
- Set up NextJS project for react. NextJS is one of the recommended frameworks by the React team. I prefer to use it in most of my tutorials
- Install Tailwind CSS in NextJS
- Create
<StickyFooter/>component
Project Setup #
To speed up this tutorial, I created a NextJS starter template with TailwindCSS already pre-installed. Just run the following command to set up the project:
npx create-next-app -e https://github.com/jmarioste/next-tailwind-starter-2 react-sticky-footer-tutorial1
Once done, you can run the following commands to start the local dev server:
cd react-sticky-footer-tutorial
yarn dev
If you're on an existing NextJS project, you can install TailwindCSS by following my previous tutorial: How to Set Up NextJS and TailwindCSS in 2023.
If you're using another framework, you can check out other framework installation guides in the tailwind docs.
The main thing here is to install TailwindCSS for a react framework.
Techniques for making anything sticky #
Let's create the sticky footer component. There are basically two ways to make stuff sticky using CSS. First is the position:fixed property, and the other is position:sticky. We'll explore both techniques, although the position:fixed technique is easier since it doesn't depend on the layout of the parent component.
Using position:fixed for Sticky
#
Let's explore the first technique. First, create the file components/FixedFooter.tsx.
const FixedFooter = () => { return ( <div className="fixed bottom-0 bg-indigo-500 text-indigo-50 p-2 w-screen z-50"> StickyFooter </div> ); }; export default FixedFooter;12345678
The explanation for classes:
fixed- grantsposition:fixedpropertybottom-0- grants bottom:0px property. Basically, these two classes will make your footer stick to the bottom. The other two are to make sure that there are no visual bugs.bg-indgo-500- setbackground-colorso that it won't be transparentz-50- sets z-index to 50 so that it's on top of everything
You can use this component on any page like so:
// pages/index.tsx import FixedFooter from "../components/FixedFooter"; const Home = () => { return ( <div > <div className="container mx-auto"> <h1 className="text-4xl">NextJS + TailwindCSS Starter </h1> </div> <FixedFooter /> </div> ); }; export default Home;123456789101112131415
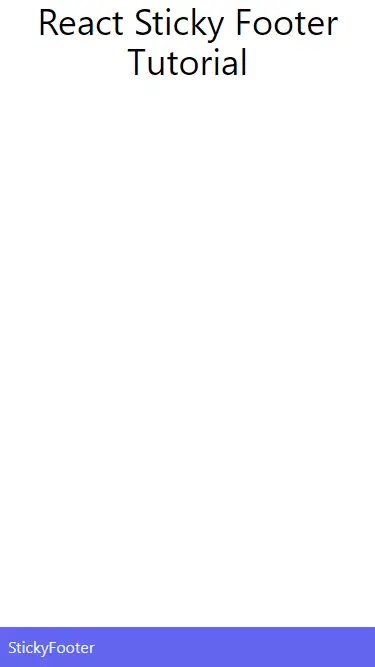
Output:
Using position:sticky for Sticky
#
The first technique already encompasses 90% of the use cases, but what's the advantage of using position:sticky?
The advantage of using position:sticky is that you can have a sticky footer for any container. We'll show this on the output later on.
First, create the file components/StickyFooter.tsx.
const StickyFooter = () => {
  return (
    <div className="sticky bottom-0 bg-indigo-500 text-indigo-50 p-2 w-full z-50">
      Sticky Footer
    </div>
  );
};
export default StickyFooter;12345678
Explanation:
Same as before but we just replaced the following classes `fixed w-screen` with `sticky w-full`. These are the only classes we need for this component but when using the sticky class, we must set up the parent element properly.
If we use the component below, and expect it to work like normal. This won't be the case:
// pages/sticky.tsx import StickyFooter from "../components/StickyFooter"; const sticky = () => { return ( <div className=""> <div className="container mx-auto"> <h1 className="text-4xl text-center">React Sticky Footer Tutorial</h1> </div> <StickyFooter /> </div> ); }; export default sticky;1234567891011121314
Output:
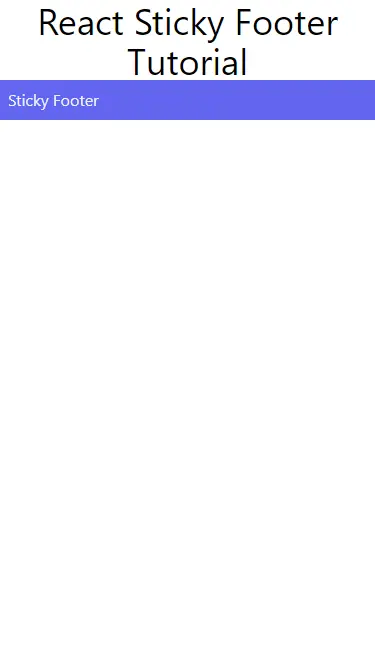
We can see that the sticky footer component is not placed at the bottom. This is because the parent element's height does not take up the whole screen and it doesn't have the relative class.
Let's modify our parent element like so:
// pages/sticky.tsx import StickyFooter from "../components/StickyFooter"; const sticky = () => { return ( <div className="relative min-h-screen flex flex-col"> <div className="container mx-auto flex-grow"> <h1 className="text-4xl text-center">React Sticky Footer Tutorial</h1> </div> <StickyFooter /> </div> ); }; export default sticky;1234567891011121314
Explanation:
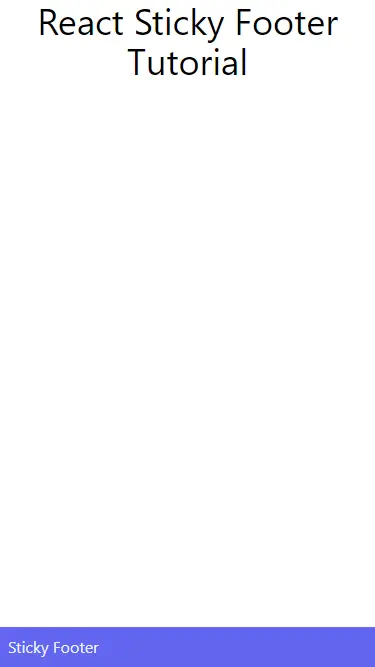
We added "relative min-h-screen flex flex-col" classes and for the sibling element, we added "flex-grow" so that it takes up the whole screen height. The output after this will be like so:
Stickied to any container element #
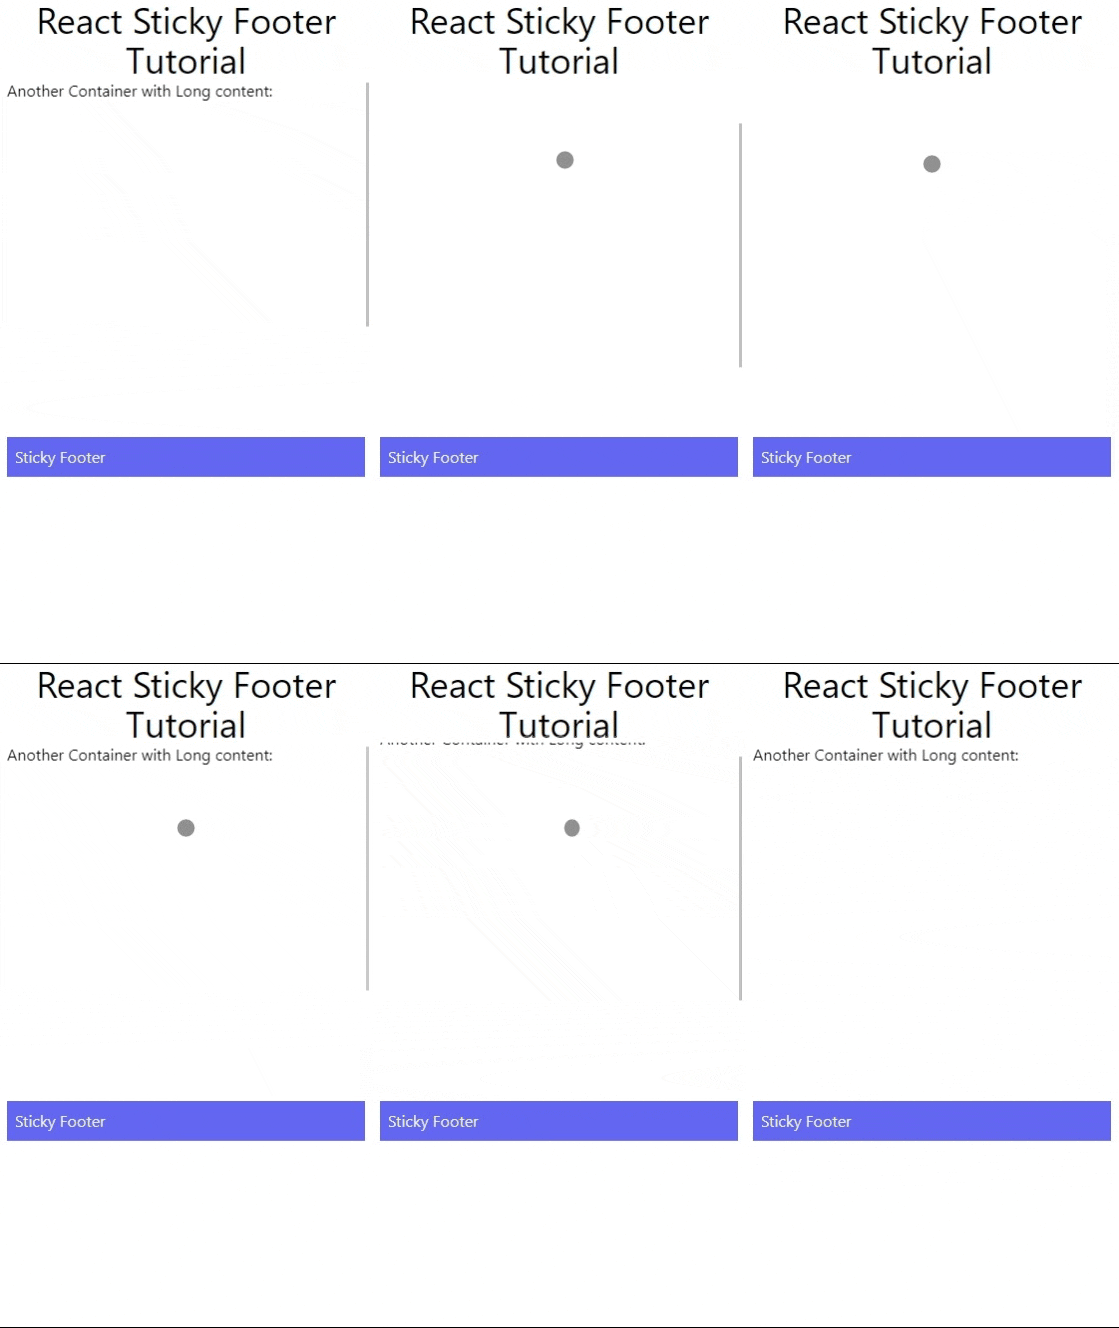
As I said before, using position:sticky can be advantageous if you want to use the sticky footer in another element. For example:
import StickyFooter from "../components/StickyFooter"; const sticky = () => { return ( <div className=""> <div className="container mx-auto"> <h1 className="text-4xl text-center">React Sticky Footer Tutorial</h1> <div className="h-[400px] relative px-2 overflow-y-auto"> <div className="h-[600px]">Another Container with Long content:</div> <StickyFooter /> </div> </div> </div> ); }; export default sticky;12345678910111213141516
Explanation:
We attached the sticky footer in another element with a fixed height.
Here's the output:
That's basically it!
Full code and Demo #
The full code is available at GitHub: jmarioste/react-sticky-footer-tutorial.
You can play with the demo on Stackblitz: React Sticky Footer Tutorial. Make sure you navigate to /index page for fixed:position implementation and to /sticky page for position:sticky implementation.
Conclusion #
You learned how to implement a react-sticky-footer by using TailwindCSS classes. If you like this tutorial, please leave a like or share this article. For future tutorials like this, please subscribe to our newsletter or follow me on Twitter.


